Ready to dive into the world of creating waves in Illustrator? Look no further! In this article, I’ll guide you through the steps to make stunning waves using Adobe Illustrator. With just a few simple techniques, you’ll be able to add dynamic and realistic water effects to your designs.
Creating waves in Illustrator may seem like a daunting task, but fear not! I’ll break it down for you step by step. We’ll explore various tools and techniques that will help you achieve different types of waves – from gentle ripples to crashing surf. Whether you’re designing a beach-themed poster or adding an aquatic touch to your logo, these wave-making skills will come in handy.
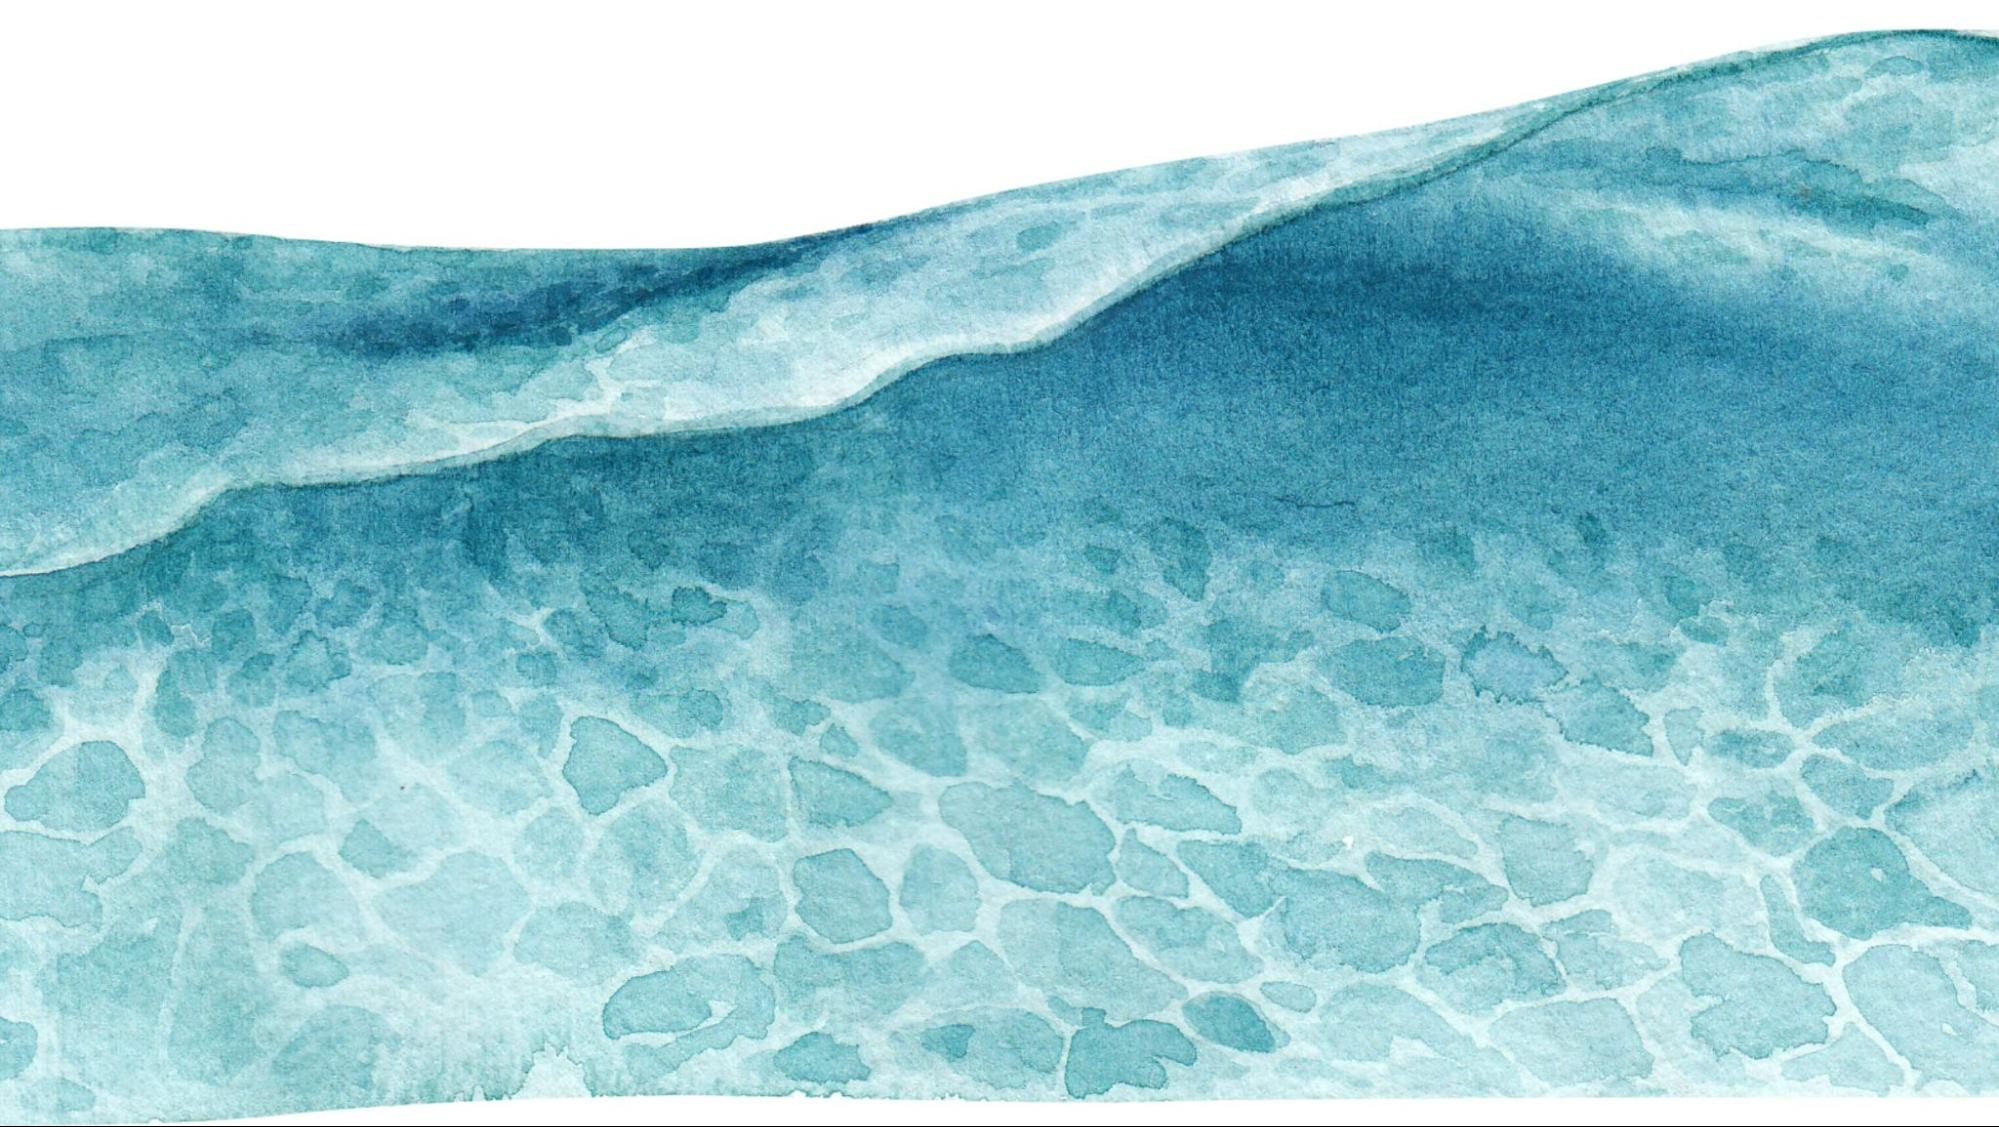
So grab your digital paintbrushes and let’s get started on making some impressive waves in Illustrator. By the end of this article, you’ll have all the knowledge and confidence needed to create captivating water effects that will make your designs stand out. Get ready to make a splash with your creativity! Creating Basic Waves
How to Make Waves in Illustrator
To start creating basic waves in Illustrator, you’ll need to begin by drawing the wave shape itself. Here’s how:
- Open Adobe Illustrator and create a new document.
- Select the Pen Tool from the toolbar on the left-hand side.
- Click on the canvas to set an anchor point for your wave.
- Move your cursor to another location and click again to create a second anchor point.
- Drag the cursor in a curved motion to create the desired shape of your wave.
- Continue adding anchor points and adjusting their positions until you’re satisfied with the overall wave shape.
Remember, practice makes perfect when it comes to creating smooth and realistic wave shapes. Experiment with different curves, lengths, and angles until you achieve the desired result.
Applying Gradient Fill to the Wave
Once you have drawn your wave shape, you can enhance its appearance by applying a gradient fill. Follow these steps:
- Select your wave shape using the Selection Tool (V) from the toolbar.
- Open the Gradient panel by going to Window > Gradient or pressing Ctrl+F9 (Windows) / Command+F9 (Mac).
- In the Gradient panel, choose Linear or Radial as your preferred gradient type.
- Adjust the gradient sliders and color stops according to your preference.
- Experiment with different color combinations and opacity levels to achieve visually appealing results.
By applying gradient fills, you can add depth and dimensionality to your waves, making them more vibrant and eye-catching.
Adding Highlights and Shadows
To make your waves truly come alive, consider adding highlights and shadows that simulate light sources hitting their surfaces:
- Create a new layer above your wave shape layer for highlighting purposes.
- Select either white or a lighter shade of your chosen base color for highlights.
- Use tools like Brush Tool (B), Pencil Tool (N), or Pen Tool (P) to manually paint in highlights along the crest and edges of your wave.
- Adjust the opacity and blending mode of the highlight layer to achieve a realistic effect.
- Similarly, create a new layer for shadows, selecting darker shades of your base color.
- Paint shadows underneath the wave or along its troughs to give depth and contrast.
By strategically adding highlights and shadows, you can create a more dynamic and three-dimensional appearance for your waves.
Remember that mastering these techniques takes practice, so don’t get discouraged if your first attempts don’t turn out exactly as planned. Keep experimenting with different shapes, colors, and effects until you develop your own unique style for making waves in Illustrator.


