How to Vectorize an Image in Illustrator iPad
When it comes to vectorizing an image in Illustrator on your iPad, choosing the right image is crucial. Not all images are suitable for vectorization, and selecting the appropriate one can greatly impact the quality and ease of the process.
Here are a few factors to consider when choosing an image for vectorization:
- Image Complexity: Opt for simpler images that have clear shapes and distinct boundaries. Images with intricate details or fine textures may not convert well into vectors and could result in a loss of clarity or accuracy.
- Image Resolution: Higher resolution images provide better results when converting to vectors. The more pixels present in the original image, the smoother the final vector artwork will be. Avoid low-resolution images as they may appear pixelated or jagged after conversion.
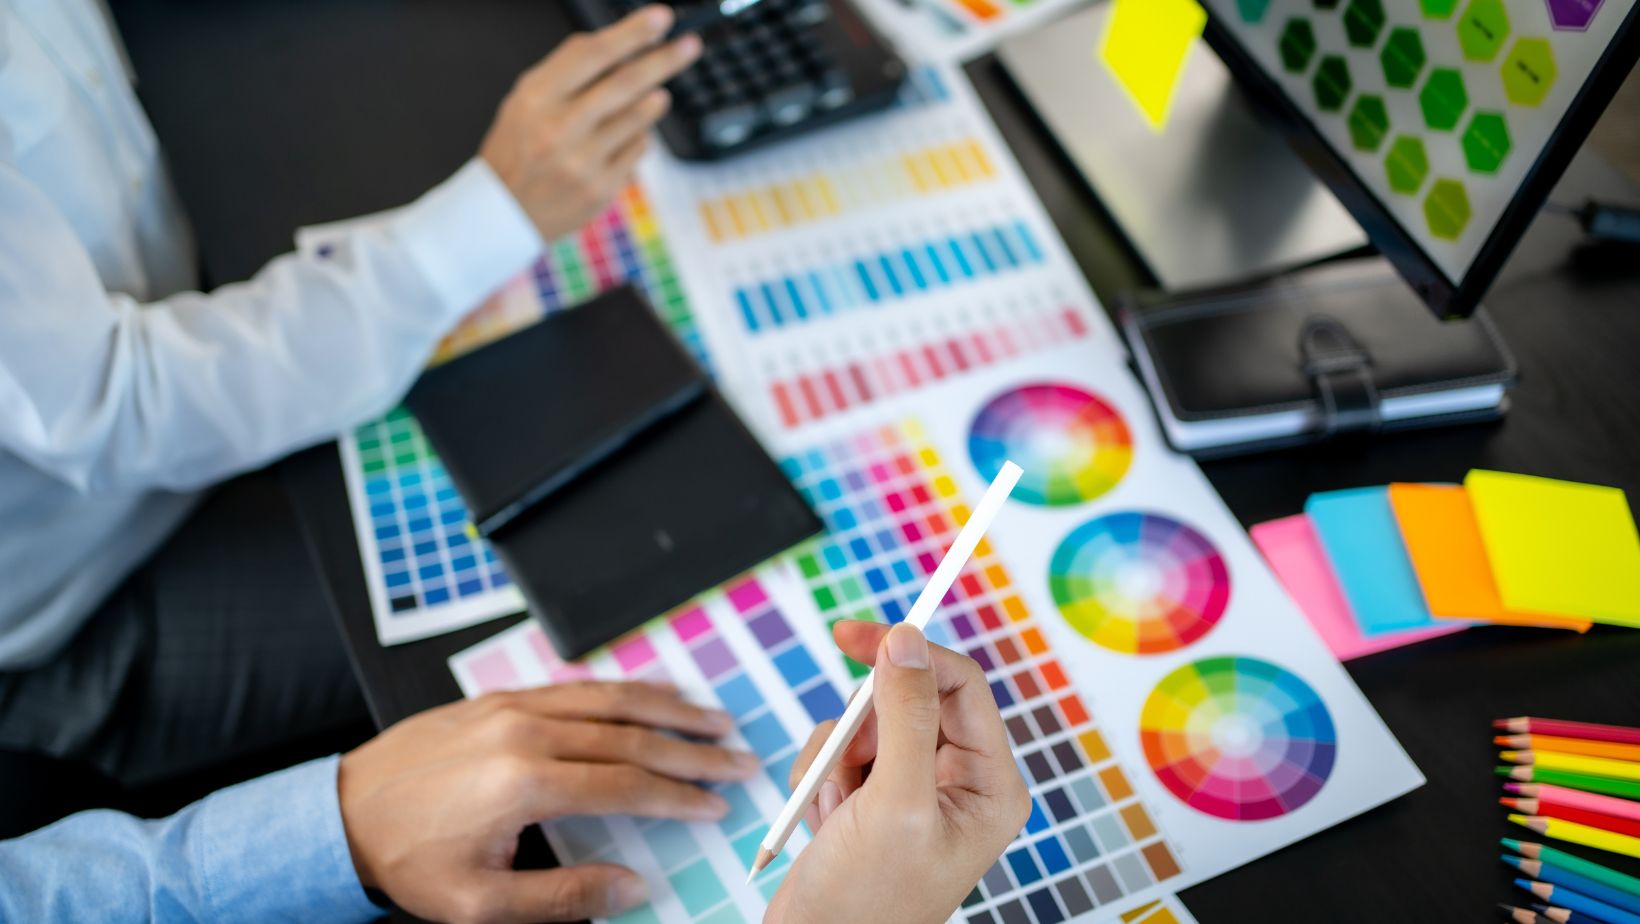
- Image Contrast: Images with high contrast between foreground and background elements tend to be easier to work with during vectorization. This contrast helps define shapes and edges more accurately, resulting in cleaner vectors.
- Image Size: Larger images generally yield better results due to increased detail and higher resolution. However, keep in mind that larger files may require more processing power from your device, so ensure that your iPad can handle the size of the image you choose.
- Image Format: Illustrator supports various file formats such as JPEG, PNG, TIFF, etc., but it’s recommended to use non-compressed formats like TIFF or PSD whenever possible. These formats preserve more visual information and provide a solid foundation for accurate vectorization.
By considering these aspects when selecting an image for vectorization in Illustrator on your iPad, you’ll increase your chances of achieving excellent results with minimal effort. Remember that practice makes perfect, so don’t hesitate to experiment with different images until you find what works best for you.
Preparing your Image Before Vectorizing
Before vectorizing an image in Adobe Illustrator on your iPad, it’s important to ensure that the resolution of the image is suitable for your desired output. Here are a few steps to help you adjust the image resolution:
- Assess the intended use: Determine if you’re planning to use the vectorized image for print or digital purposes. This will give you an idea of the required resolution.
- Check the current resolution: Open your image in Adobe Illustrator and navigate to “Image > Image Size” to view its current resolution in pixels per inch (PPI). If it’s too low, scaling up may result in pixelation.
- Increase or decrease resolution: To improve the quality of your vectorized image, you can either increase or decrease its resolution depending on your needs. For print, aim for a higher PPI (e.g., 300 PPI), while digital use generally requires lower resolutions (e.g., 72 PPI).
Remember, altering the resolution won’t magically enhance image details but rather helps optimize its appearance when converted into vectors.
Cleaning Up the Image
Cleaning up your image before vectorizing can significantly improve the final result. Here are some essential steps to consider:
- Remove background distractions: Use tools like the Background Eraser Tool or Pen Tool in Adobe Illustrator iPad to eliminate unwanted elements from your image, such as busy backgrounds or stray marks.
- Smooth out imperfections: Utilize tools like Healing Brush or Clone Stamp within Photoshop on desktop or transfer files between Adobe apps using Creative Cloud Libraries for more advanced editing options and precise touch-ups.
- Enhance contrast and brightness: Adjusting contrast and brightness levels can help bring out significant details and make your vectorized image more visually appealing.
By cleaning up your image beforehand, you’ll have a cleaner foundation to work with, resulting in smoother and more accurate vectorization.
Advanced Techniques for Enhancing Your Vectorized Image
Now that you’ve learned how to vectorize an image in Illustrator on your iPad, let’s explore some advanced techniques to take your vectorized images to the next level. These techniques will help you enhance the quality and appearance of your artwork, giving it a polished and professional look.
- Refine Paths and Anchor Points: After vectorizing an image, you may notice some rough edges or unnecessary anchor points. To refine your paths and anchor points, use the Simplify tool in Illustrator. This tool allows you to reduce the number of anchor points while maintaining the overall shape of the object. By simplifying paths, you can achieve cleaner lines and smoother curves in your vectorized image.
- Adjust Stroke Weight and Appearance: Experimenting with stroke weight can greatly impact the visual appeal of your vector artwork. In Illustrator on iPad, you can easily adjust stroke weight by selecting the desired object and modifying its attributes using the Properties panel. Play around with different stroke weights to achieve various visual effects such as bold outlines or delicate details.
- Apply Gradient Fills: Adding gradient fills can bring depth and dimension to your vectorized image. With Illustrator’s Gradient tool on iPad, you can create smooth color transitions within objects or even across multiple objects. Experiment with different gradient types like linear gradients for a sleek look or radial gradients for a more dynamic effect.
- Blend Shapes: Take advantage of Illustrator’s blend tool to create smooth transitions between shapes in your vectorized image. This technique is particularly useful when working with complex illustrations or creating realistic shading effects. By blending shapes together, you can seamlessly merge colors and forms, resulting in a visually stunning composition.
- Incorporate Transparency Effects: Adding transparency effects can add sophistication and depth to your vector artwork. With Illustrator on iPad’s Transparency panel, you have control over adjusting opacity levels for individual objects or groups of objects within your composition. Experiment with different transparency settings to create unique overlays, highlights, or even subtle shadows.
By utilizing these advanced techniques, you can elevate your vectorized images and transform them into captivating works of art. Remember to experiment and let your creativity flow as you explore the vast possibilities that Illustrator on iPad has to offer.


