If you’re looking for a way to add some life and realism to your designs, you should definitely use photoshop tree brushes. Tree brushes can be used to create all sorts of different effects, from adding depth and dimension to your photos to creating landscapes and scenes. In this blog post, we will discuss the different types of tree brushes available and how to use them in your designs.
What Are Tree Brushes?
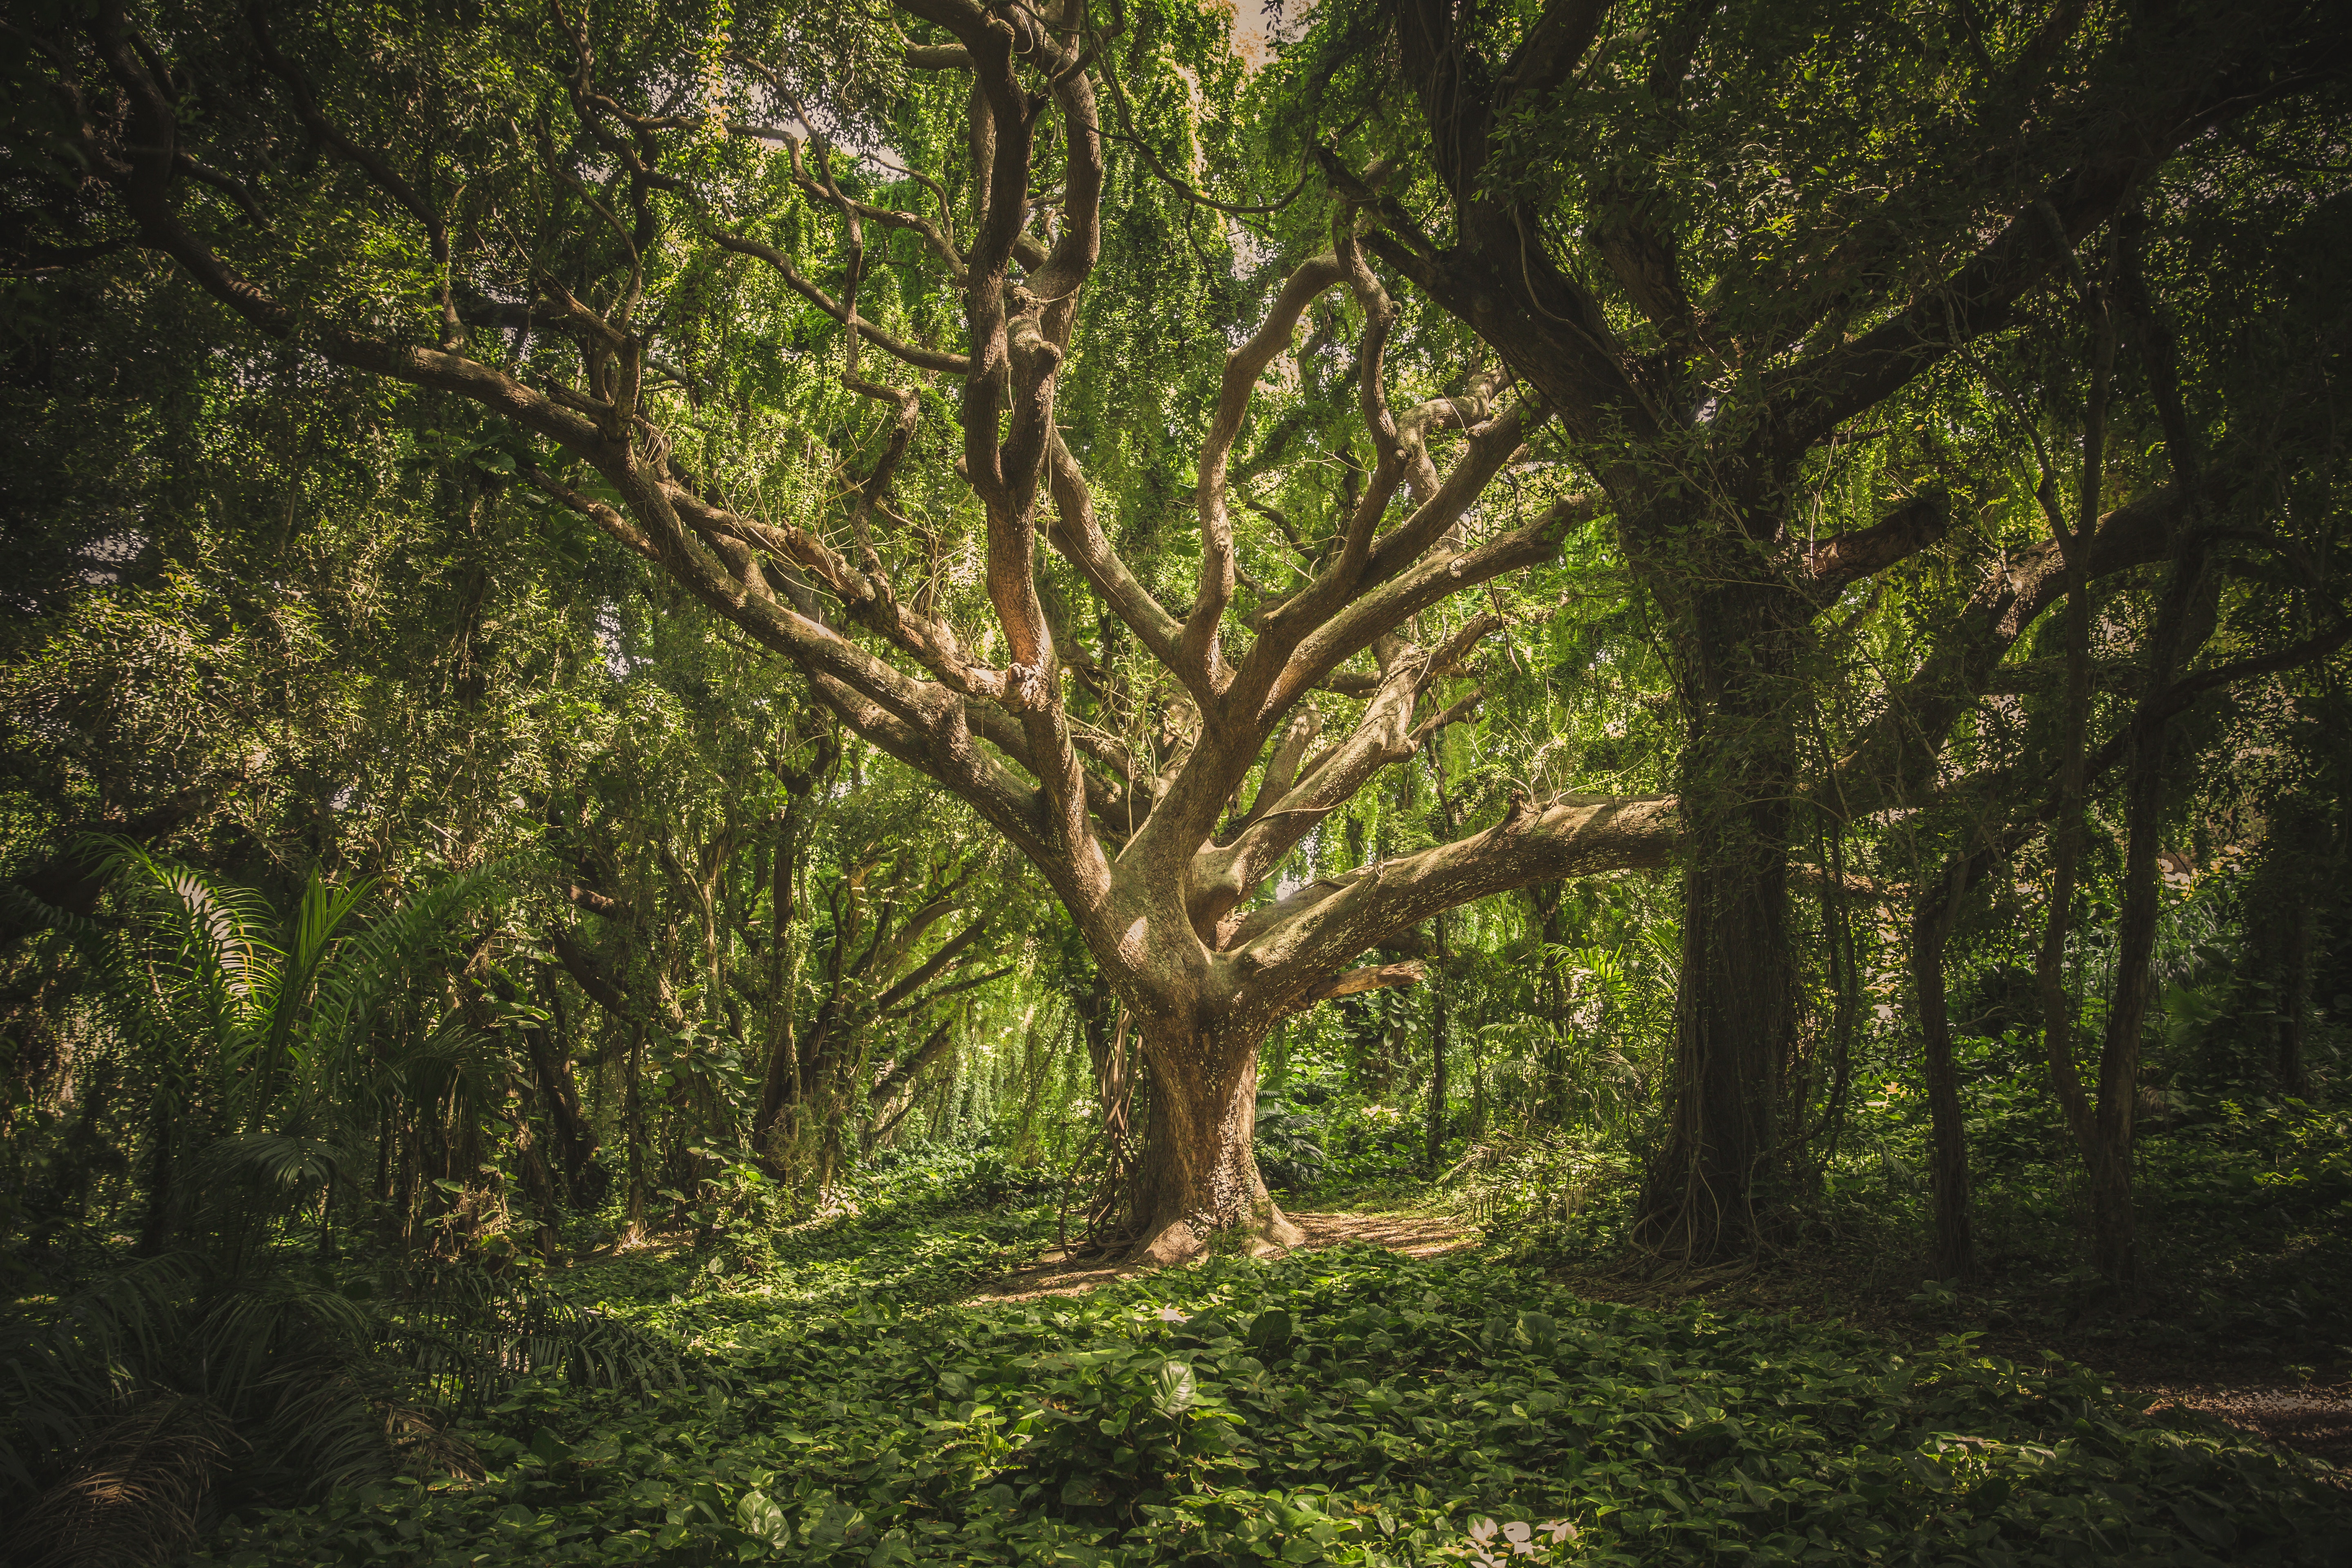
Tree brushes are simply Photoshop brushes that have been created from images of trees. These brushes can be used to create various effects, depending on how they are used. For example, tree brushes can add depth and dimension to photos or create landscape scenes.
How Are Tree Brushes Useful?
Tree brushes are most commonly used to add realism to designs. This is because they can be used to create various effects, such as adding depth and dimension to photos or creating landscape scenes. Additionally, tree brushes can also be used to add interest and detail to otherwise bland and boring designs.
When To Use Tree Brushes?
Tree brushes can be used in a variety of different situations. For example, they can add realism to photos or designs or create landscape scenes. Additionally, tree brushes can also be used to add interest and detail to otherwise bland and boring designs.
How To Use Tree Brushes?
Tree brushes are most commonly used in Photoshop. However, they can also be used in other graphic design programs, such as Illustrator or Inkscape. To use tree brushes in Photoshop, select the brush tool and then select the tree brush you want from the brush palette. Once you have selected the tree brush, you want to use, simply click and drag it across your image or design.
How To Create Photoshop Tree Brushes?
Making photoshop tree brushes is quite easy; follow the below-mentioned steps to make your own:
Step 1
Look for and download some high-resolution HD photos of trees on the internet. Make certain there are no copyright difficulties in those as well.
Step 2
After launching Photoshop, go to File > Open and locate the tree image in the working space that will be used to build the brush design. Convert the Background Layer to a regular layer by right-clicking on it and selecting Convert to Normal Layer.
Step 3
Select the Magic Wand Tool; this will pick the whole white area of the image.
Step 4
It’s time to pick a tree. Go to Select and Inverse Selection while retaining this selection.
Step 5
You’ll notice that only the tree is chosen once you click it.
Step 6
Let’s get started with our brush. Select Define Brush Preset from the Edit menu.
Step 7
Rename this brush’s shape to Tree brush 1 after getting a dialog box. Hit OK. Our brush is now complete.
Step 8
Select the Brush Tool.
Step 9
The most recent shape of the tree constructed may be seen in the shape dialog box. Choose a brush shape.
Step 10
From the color picker, choose the required color. I went with the color green. For now, set the Opacity to 60% in the properties bar. You may also adjust the brush’s size and flow style, although for the time being
Step 11
Simply click anywhere on the canvas, and the brush will be sprayed in the shape of the altered tree.
Step 12
Manual tree distribution in structural layouts or forest formation design can sometimes be challenging and even seem random. By utilizing the Brush preset in the Window menu, we can change the number of trees, their spacing, the angle at which they will disperse, and the form in which they will scatter all in one command. Toggle between Window and Brush Preset.
Step 13
In the menu, select the Brush column to see all of the characteristics we just covered.
Conclusion
Photoshop tree brushes are a great way to add realism and depth to your designs. By following the steps above, you can easily create your own photoshop tree brushes that can be used in various ways. Thanks for reading!
I hope you enjoyed this blog post. If you have any questions or comments, please feel free to leave them below. Visit our website to learn more about Adobe Photoshop and other editing tools.


