I’ve been using Adobe Illustrator for years, and one of the techniques I’ve found incredibly useful is halftoning. Halftoning is a method that allows you to create shading and gradients using dots of varying sizes. It’s a great way to add depth and texture to your illustrations, and it’s surprisingly easy to do in Illustrator. In this article, I’ll walk you through the step-by-step process of halftoning in Illustrator, so you can start incorporating this technique into your own designs.
Understanding Halftone Patterns
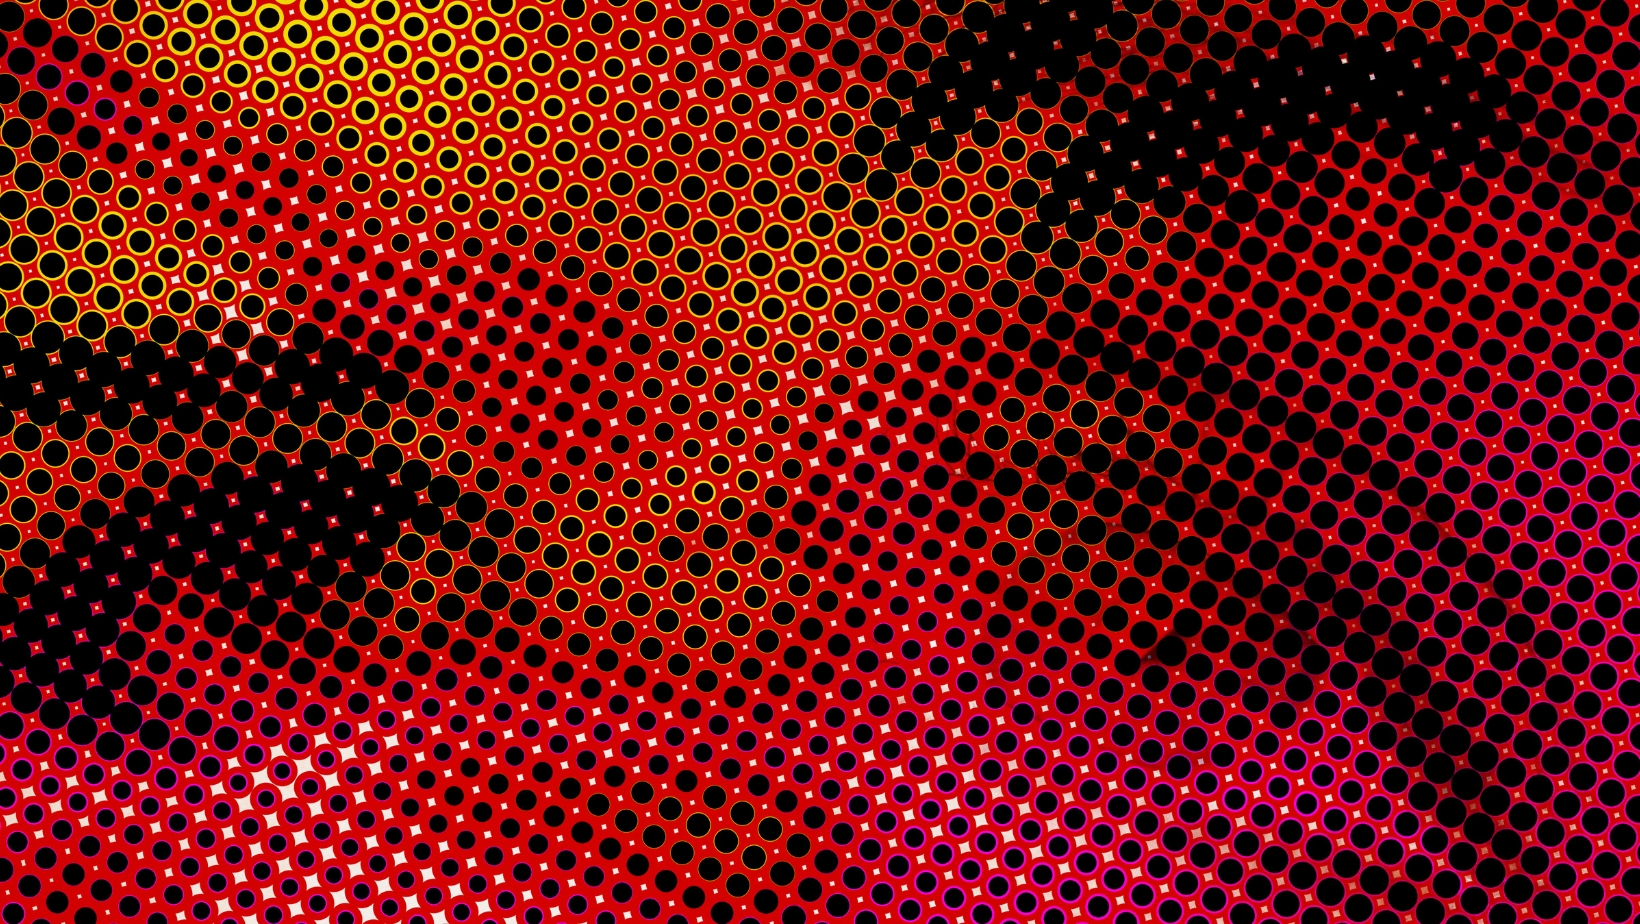
Halftone patterns are a key element in creating unique and visually appealing illustrations in Adobe Illustrator. By using dots of varying sizes and densities, halftoning allows you to achieve shading, gradients, and texture in your artwork. In this section, I’ll provide an overview of halftone patterns and how they can be effectively used in your designs.
What are Halftone Patterns?
Halftone patterns are created by breaking down a continuous tone image into a series of dots. These dots vary in size and spacing, creating the illusion of different shades and tones. By strategically placing dots of different sizes, you can achieve smooth gradients and shading in your artwork.
Benefits of Using Halftone Patterns
- Versatility: Halftoning is a versatile technique that can be used in various design disciplines such as graphic design, illustration, and printmaking. It allows you to add depth and texture to your artwork, giving it a unique and visually appealing look.
- Retro and Vintage Look: Halftone patterns are often associated with vintage and retro aesthetics. By incorporating halftone into your designs, you can achieve a nostalgic and timeless feel.
- Control over Details: With halftoning, you have precise control over the size, spacing, and density of the dots. This gives you the ability to fine-tune your artwork and achieve the desired level of detail.
How to Halftone in Illustrator
Step 1: Setting up the Document
When it comes to creating halftone patterns in Illustrator, the first step is to set up the document. Here’s how I do it:
- Open Adobe Illustrator and create a new document by going to File > New.
- In the New Document dialog box, specify the size and orientation of your document. Make sure to choose the appropriate units for your project.
- Set the Color Mode to “CMYK” if you’re creating artwork for print, or “RGB” if it’s for digital purposes.
- Adjust the Resolution to your desired level of detail. Keep in mind that higher resolutions result in larger file sizes.
- Click “OK” to create the document.
Now that we have our document ready, let’s move on to the next step.
Step 2: Preparing the Image
To create a halftone effect in Illustrator, you’ll need an image to work with. Here’s how I prepare the image:
- Place the image into your document by going to File > Place. Browse for the image file on your computer and click “Place”.
- Resize the image if necessary by clicking and dragging the corners while holding the Shift key to maintain the aspect ratio.
- Once the image is positioned and sized correctly, go to Window > Image Trace to open the Image Trace panel.
- In the Image Trace panel, choose a preset that best suits your desired halftone effect. You can also customize the settings to achieve the desired result.
- Click “Trace” to convert the image into a vector format.
With the image prepared, we’re ready to apply the halftone effect.
Step 3: Applying the Halftone Effect
Now that we have our document set up and the image prepared, let’s apply the halftone effect using the following steps:
- With the traced image selected, go to Object > Expand. This will convert the image into editable vector paths.
- Next, go to Window > Pathfinder to open the Pathfinder panel. Click the “Unite” button to merge all the paths into a single shape.
- With the shape selected, go to Effect > Pixelate > Color Halftone. This will open the Color Halftone dialog box.
- In the Color Halftone dialog box, you can adjust the Max Radius and the number of colors to control the size and density of the halftone dots. Experiment with different settings until you achieve the desired effect.
- Once you’re satisfied with the settings, click “OK” to apply the halftone effect to your shape.
And there you have it! You’ve successfully created a halftone pattern in Illustrator. Remember to save your work and experiment with different settings to achieve unique and eye-catching results.
Halftoning is a powerful technique that allows you to add depth and texture to your illustrations. Whether you’re a seasoned Illustrator user or a beginner, mastering the art of halftoning can take your artwork to the next level. So go ahead, give it a try, and unleash your creativity with halftone patterns in Illustrator.


