How to Embed a Photo in Illustrator
Looking to learn how to embed a photo in Illustrator? Well, you’re in the right place! In this article, I’ll guide you through the simple steps to seamlessly incorporate your favorite images into your Illustrator projects. Whether you’re a seasoned designer or just starting out, embedding photos can add depth and visual interest to your artwork.
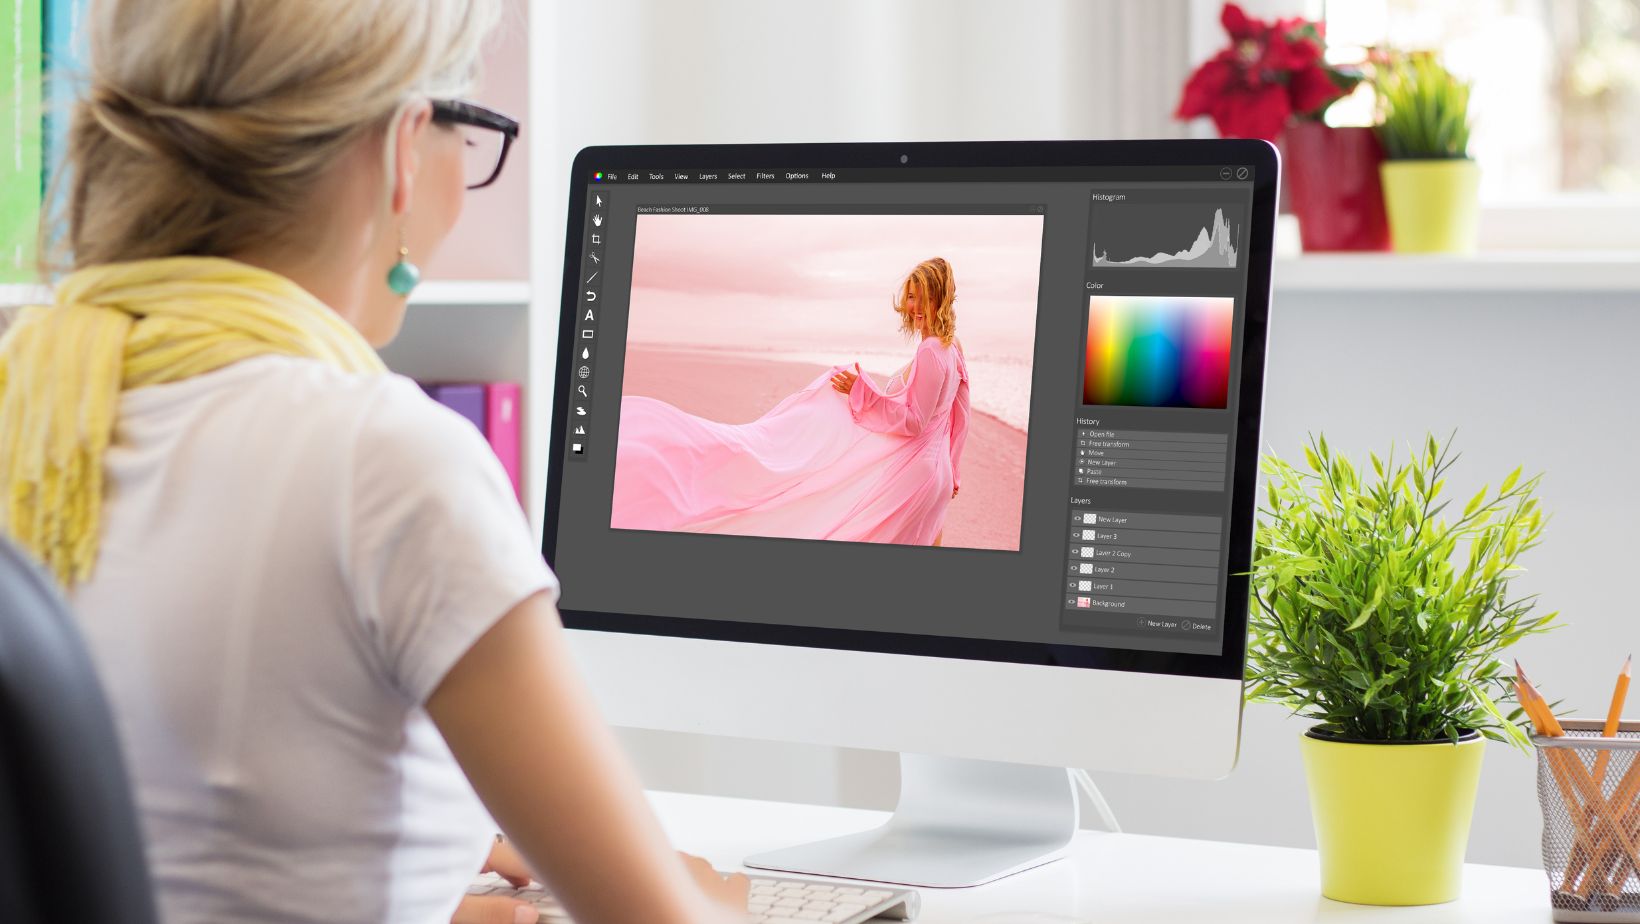
To begin, open Adobe Illustrator and create a new document or open an existing one. Next, go to the “File” menu and select “Place.” This will allow you to browse your computer for the desired image file. Once you’ve located the image, click on it and then click on the “Place” button.
Preparing Your Photo for Illustrator
When it comes to embedding a photo in Illustrator, there are a few important steps you need to follow. By preparing your photo properly, you’ll ensure that it looks great and functions seamlessly within the software. Here’s a simple guide on how to get started:
- Choose the right file format: Before importing your photo into Illustrator, it’s crucial to save it in a compatible file format. JPEG, PNG, and TIFF are commonly supported formats that work well for most images. If you’re working with transparent backgrounds or need higher quality, consider using PNG or TIFF formats.
- Check the resolution: Resolution plays a significant role in maintaining image quality when scaling or enlarging photos in Illustrator. Make sure your image has an appropriate resolution by checking its pixel dimensions. For print projects, aim for at least 300 pixels per inch (PPI) to achieve crisp results.
- Resize if necessary: If your photo is too large for the intended design or if you want to scale it down for web use, resizing is essential. Instead of relying solely on Illustrator’s resizing options, edit the image size in Photoshop or any other image editing software before bringing it into Illustrator.
- Remove unwanted elements: Sometimes photos have distracting backgrounds or unnecessary objects that can clutter your design. Consider removing these elements using Photoshop’s selection tools like the Magic Wand or Lasso tool before placing them into Illustrator.
- Save as a separate layer: To maintain flexibility and ease of editing within Illustrator, save your photo as a separate layer rather than flattening it into one background layer. This allows you to make adjustments without affecting other elements of your design.
By following these steps and taking time to prepare your photo appropriately before embedding it in Adobe Illustrator, you’ll set yourself up for success and create visually appealing designs effortlessly.
Applying Effects to the Embedded Photo
By familiarizing yourself with the process of embedding photos in Illustrator, you’ll have more creative freedom and flexibility to bring your designs to life. So go ahead, experiment, and let your imagination run wild! Positioning and resizing the embedded photo in Adobe Illustrator is a crucial step to ensure your design looks just right. In this section, I’ll guide you through the process of achieving the perfect placement and size for your embedded photo.
To begin, open your document in Adobe Illustrator and locate the photo you wish to embed. Here’s how to position and resize it:
- Select the “File” menu at the top left corner of the screen and choose “Place.” This will allow you to select your desired photo from your computer.
- Once you’ve selected your photo, click on the artboard where you want it to be placed. The image will appear in its original size.
- To adjust the positioning, simply click and drag on any of the corners or edges of the image until it is placed exactly where you want it within your design.
- If you need to resize the image, hold down the Shift key while dragging one of the corners inward or outward. This ensures that proportions are maintained and prevents distortion.
- Alternatively, if you prefer precise measurements for resizing, select the image and navigate to “Object” in the top menu bar, then choose “Transform” followed by “Scale.” Enter specific dimensions or percentages to achieve accurate sizing.
By following these steps, you can easily position and resize an embedded photo within Adobe Illustrator according to your design needs. Remember that experimenting with different placements and sizes can help enhance visual impact and create a harmonious composition.


