How to Recolor an Image in Illustrator
Are you looking to learn how to recolor an image in Illustrator? Well, you’ve come to the right place! Recoloring an image can be a great way to give it a fresh new look or match it with your desired color scheme. In this article, I’ll walk you through the steps on how to recolor an image in Illustrator, so let’s get started!
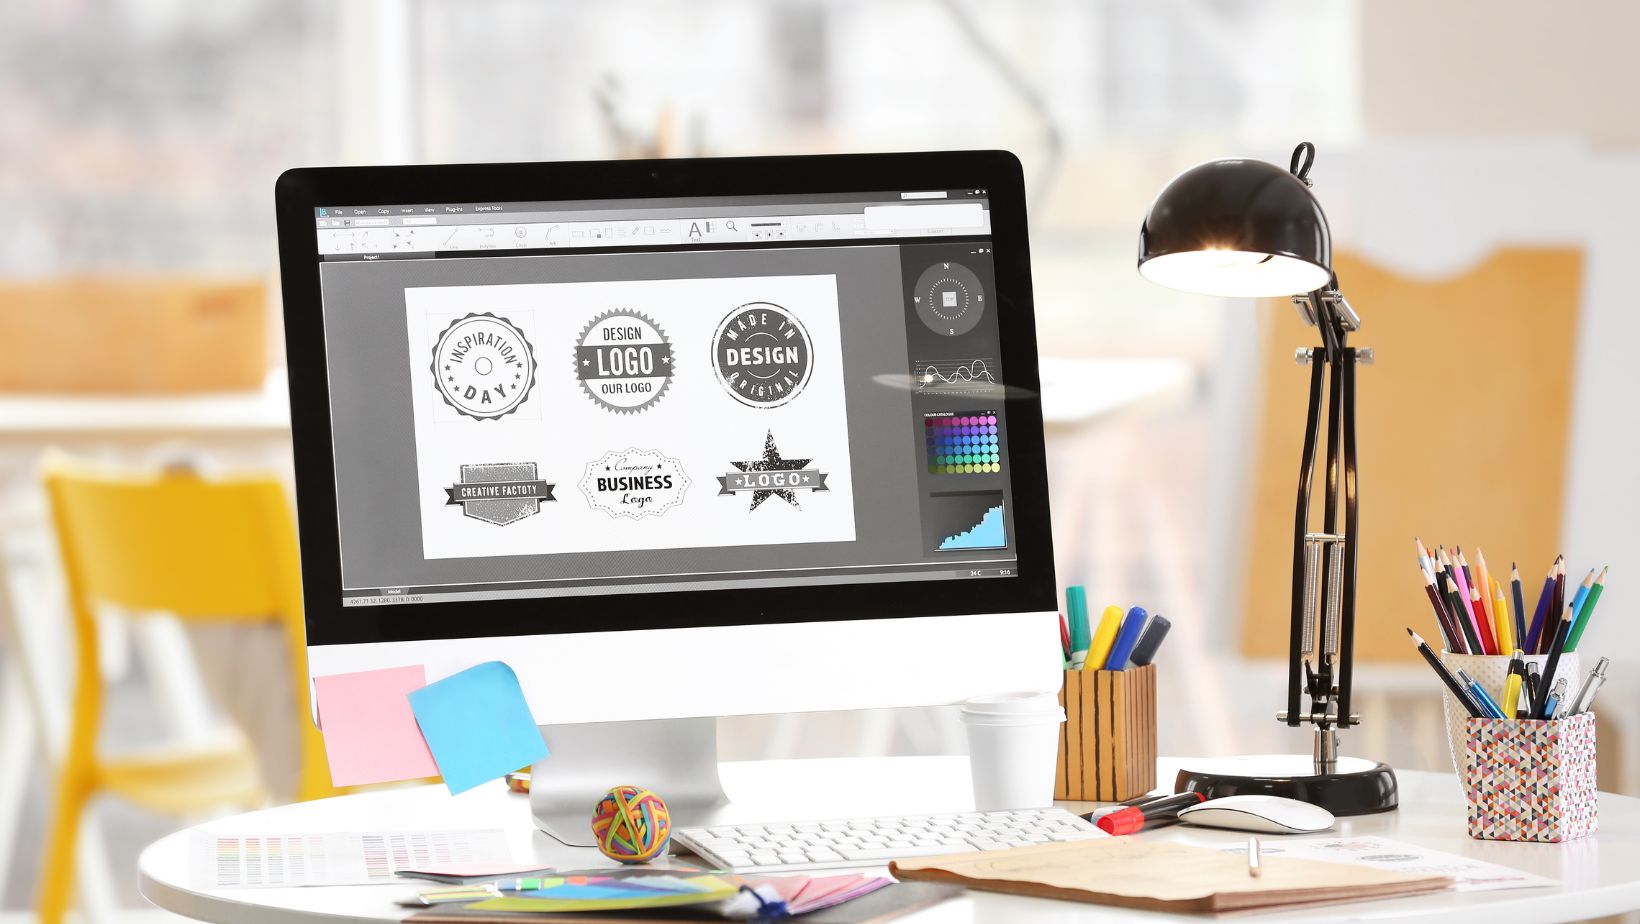
Firstly, open the image you want to recolor in Adobe Illustrator. Then, select the image by clicking on it. You should see a bounding box around the image indicating that it is selected. Next, go to the top menu and click on “Edit” followed by “Edit Colors”. From there, choose “Recolor Artwork. This will open up the Recolor Artwork dialog box.
Preparing your Image for Recoloring
One of the first steps in preparing your image for recoloring in Adobe Illustrator is converting it to a vector format. Vector images are made up of points, lines, and curves rather than pixels, which allows for easy manipulation and scaling without losing quality. To convert your image to a vector format, follow these steps:
- Open your image in Adobe Illustrator.
- Select the image and go to Object > Image Trace > Make.
- Adjust the settings in the Image Trace panel to achieve the desired level of detail and accuracy.
- Click on Expand in the Control panel or right-click on the traced image and choose Expand.
By converting your image to a vector format, you’ll have more control over its individual elements when it comes time to recolor it.
Cleaning up the Image before Recoloring
Before diving into the recoloring process, it’s essential to clean up any imperfections or unwanted elements from your image. This step ensures that you’re working with a clean canvas and makes it easier to apply colors accurately. Here are some tips for cleaning up your image:
- Use the Eraser tool or Clipping Mask function in Illustrator to remove any unnecessary parts or background elements.
- Use the Pen tool or Shape Builder tool to refine shapes and eliminate any jagged edges or rough outlines.
- Check for stray points or anchor points that may affect color fills, and use the Direct Selection tool to adjust them as needed.
Taking the time to clean up your image will result in a smoother recoloring process later on.
Adjusting Brightness and Contrast for Better Results
To achieve optimal results when recoloring an image in Illustrator, adjusting its brightness and contrast can make a significant difference. By fine-tuning these aspects, you can enhance details, improve color accuracy, and create more vibrant and impactful visuals. Here’s how you can adjust brightness and contrast in Illustrator:
- Select your image and go to Window > Color.
- In the Color panel, click on the fly-out menu icon and choose “Adjust Colors.”
- Adjust the sliders for Brightness and Contrast until you achieve the desired effect.
- Click OK to apply the changes.
By making these adjustments, you’ll have a better starting point for recoloring your image, ensuring that colors appear more vivid and true to life.
Using the Recolor Artwork Feature in Illustrator
- Select your artwork: Start by opening Adobe Illustrator and selecting the image that you want to recolor. You can either import an existing image or create a new one from scratch.
- Access the Recolor Artwork panel: To access the Recolor Artwork panel, navigate to “Window” in the top menu bar and select “Recolor Artwork.” This will open up a separate panel where all the magic happens.
- Explore color options: Once you have opened the Recolor Artwork panel, you’ll see various color options and settings. Take some time to familiarize yourself with these features before proceeding.
- Make global adjustments: The first step in recoloring your image is making global adjustments. Here, you can apply different color harmonies such as complementary, monochromatic, or triad schemes. Experiment with these options until you find a combination that suits your desired outcome.
- Fine-tune individual colors: After applying global adjustments, it’s time to fine-tune individual colors within your artwork if needed. With the Recolor Artwork panel still open, click on specific colors in your image and adjust them using sliders or input precise values for hue, saturation, brightness, and more.
- Save swatches for future use: If you’re happy with your newly recolored artwork and would like to keep those color combinations for future projects, make sure to save them as swatches. This way, you can easily apply the same color scheme to other illustrations with just a few clicks.
- Apply the new colors: Once you’re satisfied with your recoloring efforts, click “OK” in the Recolor Artwork panel to apply the changes to your artwork. You’ll instantly see how your image transforms with the new colors.
So there you have it! Follow these steps and unleash your creativity by effortlessly recoloring images in Adobe Illustrator using the Recolor Artwork feature.


