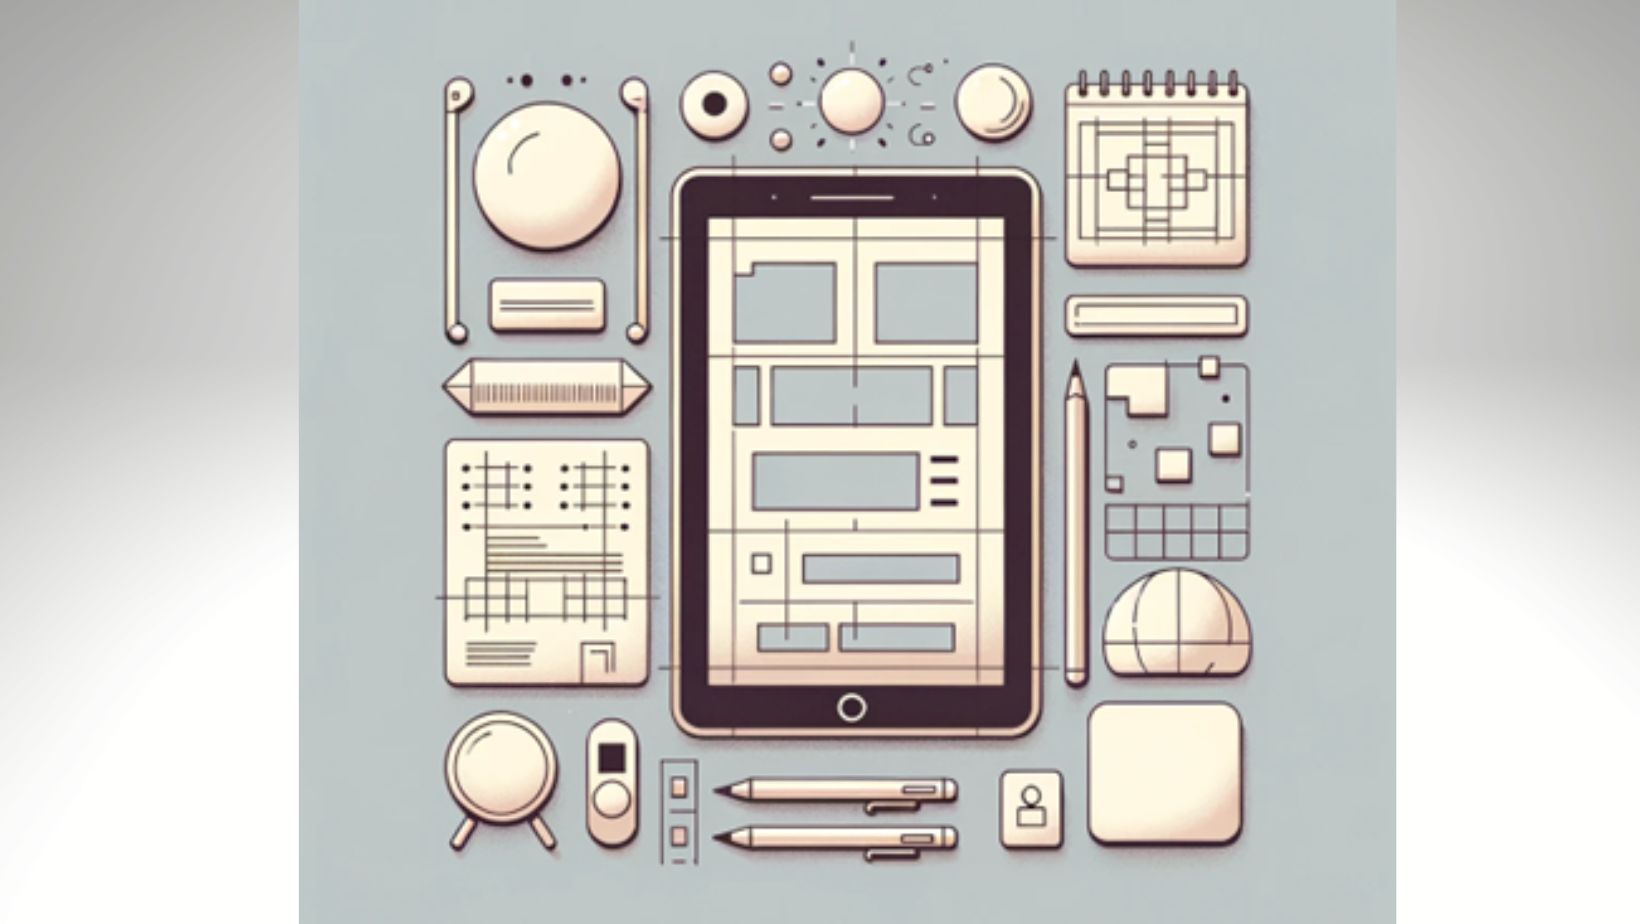
 UI/UX design is more than just a trend — it’s all about our digital experience.
Enter Adobe Illustrator: this tool isn’t just for artists; it’s a staple to craft user interfaces that click with users. In this article, we’ll walk through why Illustrator should be your go-to for UI/UX work, along with some handy tips and tricks to get you started.
Also, if you’re on the lookout for top-notch talent, we’ve got the list of the best platforms to hire UI designers for your project. This article will give you questions to ask a potential candidate, provide a list of platforms to hire the best UI/UX designers and cover an approximate cost.
Table of Contents
ToggleUI/UX Design Explained
User Interface (UI) refers to the visual elements — such as buttons, icons, spacing, and typography — that enable a user to interact with a product or service. On the other hand, User Experience (UX) involves the overall experience a user has when they interact with a product; it includes the product’s usability, accessibility, and efficiency.
Their importance lies in:
- User retention: A well-designed UI and positive UX can significantly improve user retention rates;
- Brand reputation: Consistently positive experiences can enhance brand perception and loyalty.
Adobe Illustrator fits into the UI/UX design process primarily through the creation of vector graphics and prototyping. Its ability to create scalable vector graphics makes it ideal for designing icons and other UI elements. Moreover, Illustrator can be used to create initial mockups and wireframes, which are crucial early steps in the UX design process.
How to Get Started with Adobe Illustrator for UI/UX Design
The setup of your workspace in Adobe Illustrator for UI/UX design starts with understanding artboards and essential tools.
Here’s a breakdown:
Step 1: Set Up Your Workspace
Customize your Illustrator workspace by going to Window > Workspace > New Workspace. Name it ‘UI/UX Design’ to keep your tools organized and accessible.
Step 2: Understand Artboards
Artboards allow designers to create multiple screens within a single document. They are essential for responsive interface design for different device sizes.
Start by setting up artboards for mobile, tablet, and desktop views to visualize how your design adapts across devices.
Step 3: Organize your panels
Here are a few essential tools and panels for UI/UX design in Illustrator:
- Pen Tool: to create custom shapes and icons;
- Type Tool: to add and style text;
- Layers Panel: to manage different elements of your design;
- Alignment Tools: These are used to ensure consistent spacing and alignment.
6 Steps to Design a UI/UX Interface in Adobe Illustrator
From initial research to the final handoff to developers, we’ll cover essential steps to help you design effectively and efficiently in Adobe Illustrator.
Here’s a 6-step guide:

Step 1: Research and Plan
Start with user research and planning. Gather data through surveys, interviews, and analytics to understand your audience. Create user personas to represent your typical users and guide your design decisions.
Step 2: Conduct Wireframing
Wireframing is crucial to structure your interface. In Illustrator, use simple shapes and lines to map out the layout. Focus on the flow and functionality rather than design details. Utilize layers and symbols to organize and reuse elements.
Step 3: Design the User Interface
Translate wireframes into high-fidelity designs. Use Illustrator’s vector tools to create crisp buttons, icons, and menus. Leverage the Swatches and Gradient panels to apply consistent colors and effects.
Step 4: Consider Prototyping and Interactivity
While Illustrator isn’t primarily a prototyping tool, you can link artboards to simulate the user journey. Use third-party plugins or transfer your designs to Adobe XD for interactive prototyping.
Step 5: Test and Gather Feedback
Test your designs with real users to gather feedback. Use this input to refine your interface and focus on usability and aesthetics.
Step 6: Organize a Handoff
Prepare your design for developers by finalizing the details and organizing assets. Use the Export for Screens feature to provide high-quality assets and ensure clear communication for a smooth handoff.
Why Should You Use Adobe Illustrator for UI/UX Design?
Adobe Illustrator offers unique advantages for UI/UX design that set it apart from other software:
Vector Graphics
Illustrator’s core strength is its vector graphics capabilities that allow designers to create clean, scalable designs without losing quality. This is essential for UI elements like icons and buttons, which need to look sharp across different screen sizes and resolutions.
Artboard Management
Illustrator allows the creation of multiple artboards in a single document and facilitates the design of different screens or components simultaneously. This streamlines the workflow and makes it easier to maintain consistency across designs.
Precision and Flexibility
Illustrator provides advanced tools and options for precise manipulation of shapes, lines, and curves.

This precision is crucial when you create intricate UI elements.
Integration and Prototyping
While Illustrator itself is not primarily a prototyping tool, it integrates seamlessly with Adobe XD, which allows for easy transfer of designs to XD for prototyping and user testing.
Asset Exporting
Illustrator simplifies the process of asset exportation in various formats and resolutions and streamlines the handoff to developers.
Extensive Resource Library
Access to Adobe’s vast library of fonts, graphics, and templates speeds up the design process and inspires creativity.
6 Adobe Illustrator Tips and Tricks for UI/UX Design
Enhance your UI/UX design workflow in Adobe Illustrator with these tips and tricks:
Utilize Layers and Sublayers
Organize your design elements into layers and sublayers for easy navigation and editing. Label them clearly to keep track of various components like buttons, icons, and backgrounds.
Embrace Symbols
Use symbols for recurring elements like buttons and icons. When you edit a symbol and update all instances, you ensure consistency and save time. Access Window > Symbols to manage your symbols library.
Master Shortcuts
Speed up your workflow with Illustrator shortcuts. For instance, use “Cmd + 3” (Mac) or “Ctrl + 3” (Windows) to hide selected objects, which allows you to focus on specific layers.
Explore Global Editing
This feature lets you modify similar objects across your artboards simultaneously, perfect for UI elements that require uniform changes.
Leverage Adobe CC Libraries
Store and access your color palettes, graphics, and text styles in CC Libraries. This integration ensures consistency across different projects and team members.
Use Responsive Resizing
Utilize responsive resizing tools to ensure elements adjust correctly across different screen sizes.
Conclusion
We’ve journeyed through the ins and outs of Adobe Illustrator for UI/UX design, from the setup of one’s workspace to final designs for development.
Remember, Illustrator’s vector capabilities and design flexibility can elevate your UI/UX projects to new heights. Now’s the time to start experiments and integrate these practices into your workflow.
For continued growth, dive into resources like Adobe’s own Illustrator tutorials, online courses, or comprehensive design books.
Keep exploring, keep creating, and watch your UI/UX skills flourish!


