Marketing is a certain field where the saying “a picture speaks a thousand words” is especially true. Image dimensions are one of the important things for a company. The dimension of images utilized on websites is a crucial factor in building a top-notch website. A key component of successful online marketing is high-quality images.
The usage of images continues to increase in advertising formats like websites and social media platforms. They frequently serve as a consumer’s initial point of interaction. Therefore, the way they represent themselves can have a big influence on whether or not that consumer decides to interact with your company. Here is a step-by-step guide on how to create image dimensions and what mistakes to avoid.
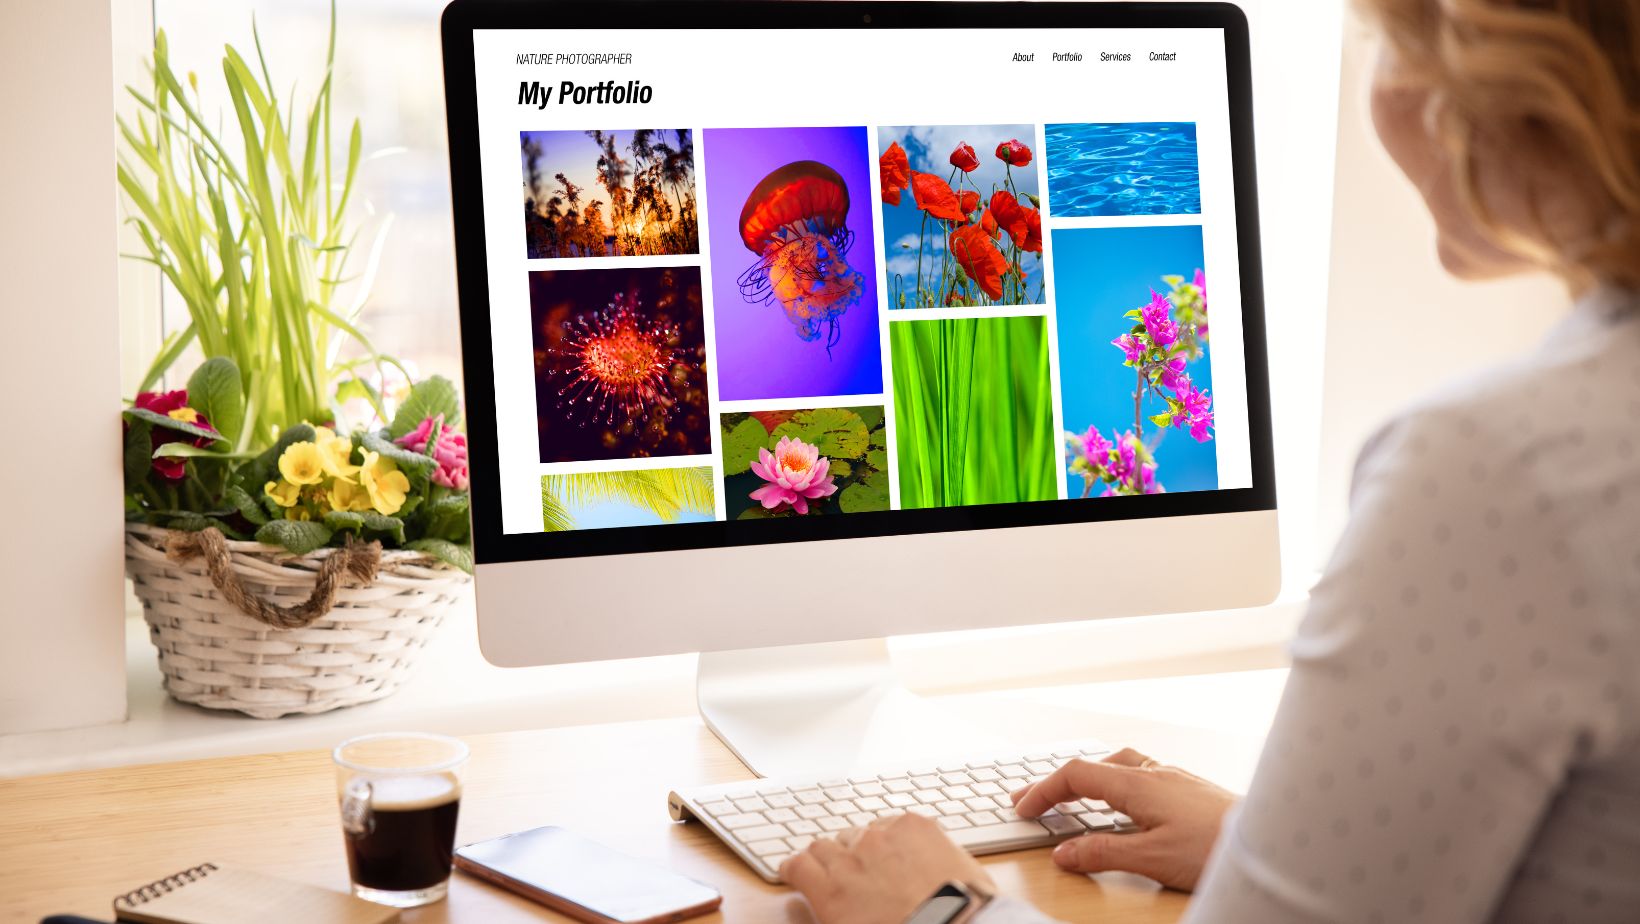
How Do You Create The Perfect Image Dimensions for a Company?
Having an appropriate image dimension for every situation helps enhance the user experience by making it simpler without having to enlarge it for details or navigate to view the entire picture. The following pointers can help you create the basic image dimensions for your company.
1. Identify Brand Requirements
It is necessary to understand the brand requirements before creating images. Whether you are creating images for websites, social media, or commercial purposes, having the images with proper dimensions is crucial. You can create custom images and follow current design trends to improve SEO for your company. Image captions and tags act as keywords that Google crawlers identify when browsing your page. Make sure you are familiar with the branding requirements of the company before you begin to create images.
2. Understand the Image Dimensions.
Image sizes have a significant impact on user experience, SEO, and the entire performance of the website. In this fast-paced world of social networking, the brand image is the one that strikes the customer. You need to stay updated with image dimensions for social media platforms. The size of the images is crucial for an excellent web page, regardless of the type of image file that is utilized. Here is a detailed breakdown of the guidelines for creating a basic website image size requirement for your company.
Image Size for Website Banner
For impactful website banners, consider 250×250 pixels with a 1:1 aspect ratio at 72 PPI. Optimal choices are vertical (160×600) and square formats. Prioritize compression for small file sizes, aligning with site specifications for different banner types.
Image Size for Website Background
Use an image with a resolution of 1920 × 1080 pixels for an appealing website background while maintaining a 16:9 aspect ratio and 72 PPI. Based on the design of the web page, consider a size up to 2400×1600 pixels, under 20MB, to increase brand value.
Image Size for Website Logo
Elevate your brand identity with a website logo size of 250 x 100 pixels, following a 2:3 aspect ratio and 72 PPI. You can also avail logo design services that align with these principles. As a matter of fact, logo design services can help you create a consistent and visually appealing brand identity. Opt for square (1:1) or rectangle (2:3) formats, ensuring a prominent display on the top left or center of the website.
Image Size for Website Blog
Ideal for blog sharing, using images of 1200×630 pixels, maintaining a 3:2 aspect ratio at 72 PPI. Landscape blog images work at 1200 x 900 pixels, while portrait-featured images suit 900 x 1200 pixels. For successful blog marketing, make sure all social media platforms are compatible.
Mistakes to Avoid While Creating Image Dimensions
Now that you have known the steps to create the image dimensions and the importance of image dimensions for a website, it is essential to note a few mistakes that can be made while creating image dimensions.
1. Select the Right Format
It is essential to choose the right format for images. JPEG is best for photographs, whereas PNG is suitable for transparent backgrounds, GIF is ideal for animations, and SVG is appropriate for scalable vectors. Optimize the quality, file size, and loading time. Use internet tools or applications for conversion, compression, and resizing to effectively address your needs.
2. Optimize the Resolution
For both performance and quality, optimize the image resolution. High resolution offers sharpness but may cause slower loading. Low-resolution loads quicker but has blurry images. Adjust resolution to suit desired quality, screen size, and density.

To adjust the resolution for various devices and settings, make use of media searches, dynamic pictures, and formats.
3. Alt Tags
Use picture alt tags for SEO and accessibility purposes. For those who use screen readers, alt tags provide text descriptions for pictures that explain how the image relates to the content. By using informative alt tags for each picture, you may improve the accessibility and search engine optimization of your website.
4. Test and Improve
Do not forget to test and improve images. This can avoid frequent errors in web design. Most of the company owners do not tend to focus on this aspect. Testing your images will enable you to find and correct any mistakes or problems that may affect the performance or appearance of your website. You may increase and fine-tune the quality and efficiency of your images by making improvements.
If you are concerned regarding your site’s performance (and also its SEO), you must keep your site’s image dimensions under control. However, if you’re wondering how to compress and resize images before posting them to your website, how can this procedure be automated? And which file formats need to be employed?
You can find the easiest ways to optimize images without reducing quality. The major objective of optimizing images for a website is to help reduce the load time of your website without affecting its resolution. Therefore, smaller files result in faster loading pages, better browsing experience, and SEO.
Conclusion
Image sizes are difficult to estimate because there are so many different browser-enabled platforms available nowadays. You can create an effective image with the appropriate size that meets your company or website requirements. Additionally, following these steps can improve the appearance of your images, speed up the loading of your website, and eventually assist your SEO. Get into the correct image practices today, and your entire website will benefit.


