Mastering the art of digital painting is an exciting journey that allows artists to bring their creative visions to life in stunning detail. In today’s digital age, the possibilities are endless, and one powerful tool that can help achieve this level of artistic expression is Adobe Illustrator. With its vast array of brushes, effects, and tools specifically tailored for digital painting, Illustrator opens up a world of possibilities for artists looking to explore the realm of live painting.
Live painting in Illustrator refers to the process of digitally recreating the experience of traditional painting on a canvas. It involves using various brushes and techniques to create intricate strokes, blend colors seamlessly, and add texture and depth to your artwork. What sets live painting apart from other digital illustration techniques is its ability to capture the spontaneity and organic feel that comes with traditional mediums.
I’ll guide you through the essential steps and techniques required to master the art of live painting in Illustrator. From selecting the right brushes and setting up your workspace to exploring advanced blending modes and layering techniques, we’ll delve into everything you need to know to create captivating digital paintings. So grab your stylus or tablet pen; it’s time to unleash your creativity and embark on a journey into the world of live painting in Adobe Illustrator! Understanding the Basics of Digital Painting
How to Live Paint in Illustrator
When it comes to digital painting, choosing the right software is crucial. There are various options available in the market, each with its own set of features and capabilities. The most popular software for digital painting is Adobe Illustrator, known for its versatility and powerful tools. Other notable options include Corel Painter, Procreate, and Krita.
To make an informed decision about which software to use, consider factors such as your skill level, desired style of painting, and budget. Adobe Illustrator offers a wide range of brushes and customizable settings that allow artists to create intricate details with precision. Corel Painter, on the other hand, focuses more on mimicking traditional art mediums like oil paints and watercolors.
Exploring Different Brushes and Tools
Once you’ve chosen your preferred digital painting software, it’s time to explore the vast array of brushes and tools at your disposal. Brushes can vary greatly in texture, opacity, size, and shape – all contributing to different artistic effects. Experimenting with different brushes will help you find the ones that suit your style best.
In addition to brushes, familiarize yourself with other essential tools, such as erasers and smudge tools, for blending colors seamlessly together or creating unique textures within your artwork.
Setting Up Your Workspace for Digital Painting
Setting Up Your Digital Workstation
When it comes to digital painting, having a well-optimized workspace is crucial for a smooth and efficient workflow. Before diving into the world of live painting in Illustrator, let’s take a moment to set up our digital workstation properly.
First and foremost, make sure you have a reliable computer or laptop with sufficient processing power and memory to handle the demands of digital painting software. A laggy system can hinder your creativity and disrupt your artistic flow. Also, ensure that you have enough storage space for saving your artwork and reference materials.
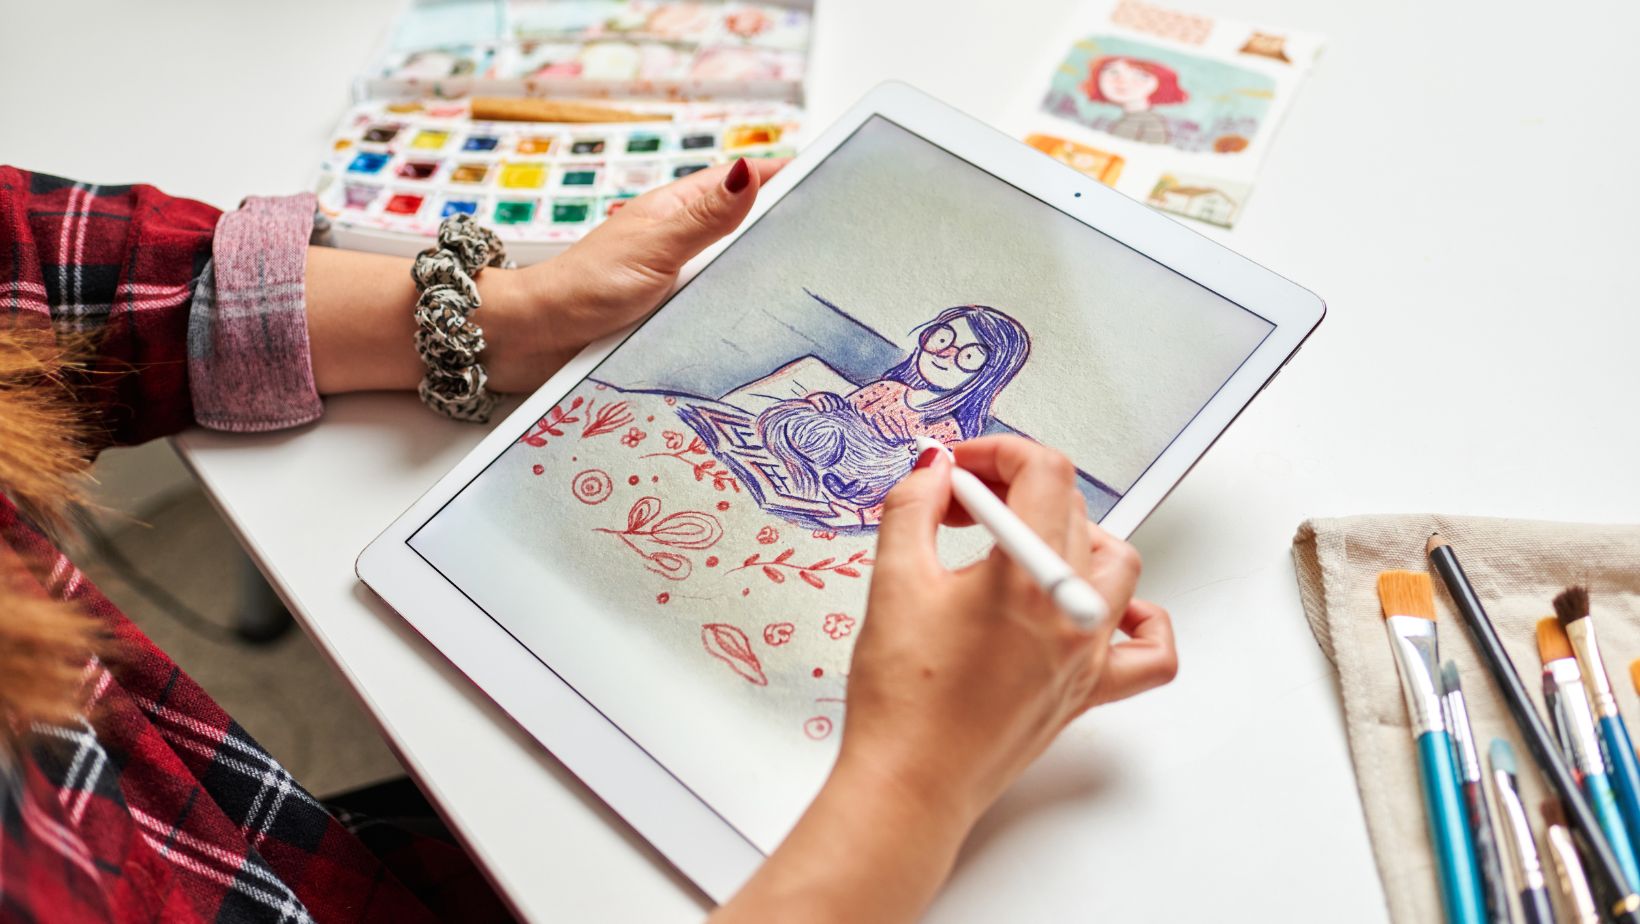
Next, consider investing in a high-quality drawing tablet. These devices simulate traditional drawing tools and allow for more precise control over brush strokes. When choosing a tablet, pay attention to factors such as pressure sensitivity levels, responsiveness, and compatibility with your preferred software.
Calibrating Your Drawing Tablet
Once you have your drawing tablet set up, it’s essential to calibrate it correctly. Calibration ensures that the cursor movement on the screen accurately corresponds to your physical pen movements on the tablet surface.
To calibrate your drawing tablet, follow these steps:
- Open the settings or control panel of your drawing tablet.
- Locate the calibration option and select it.
- Follow the instructions provided by the manufacturer to complete the calibration process.
- Test out different areas of your tablet’s surface to ensure that there are no discrepancies between pen input and cursor movement.
In conclusion, mastering the basics of digital painting involves choosing the right software that suits your needs, exploring various brushes and tools to find your preferred style, and understanding how layers and blending modes work together to enhance your artwork. With practice and experimentation, you’ll be well on your way to becoming a skilled digital painter.


