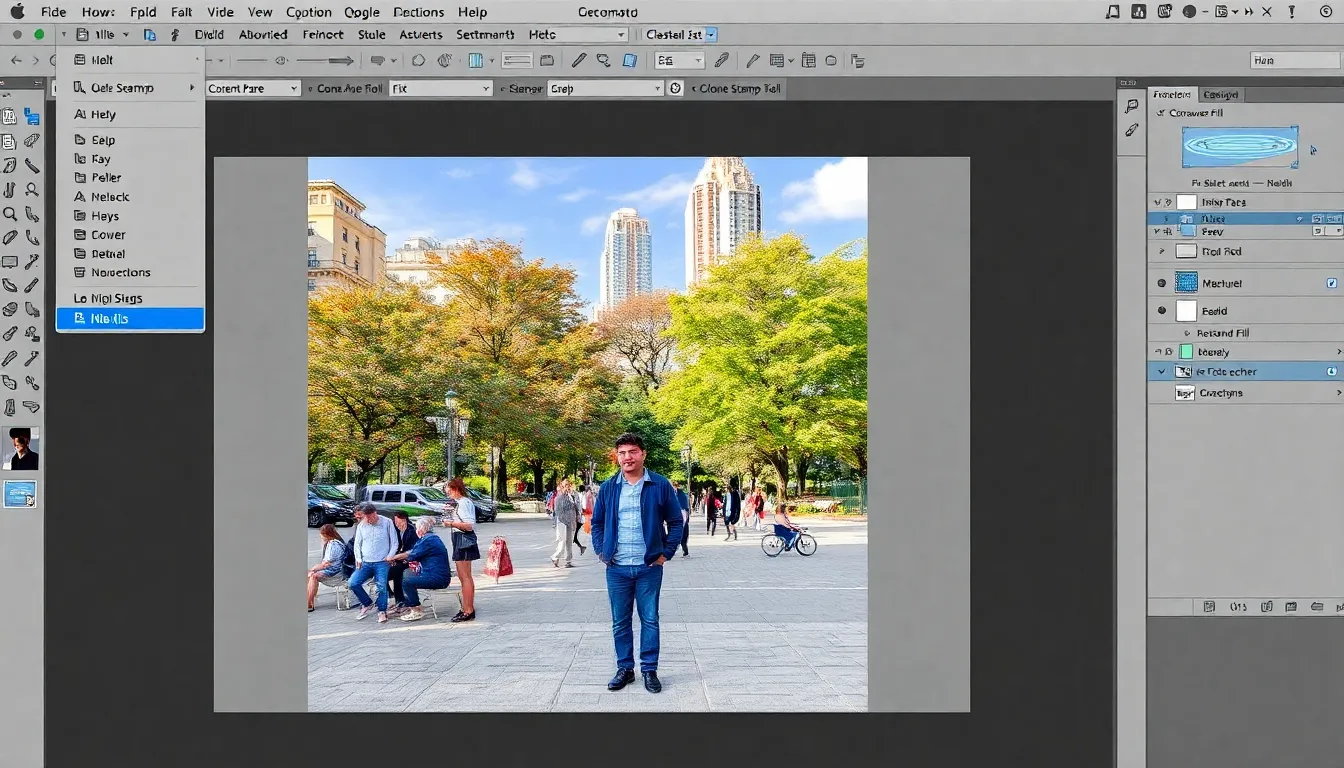
Ever find yourself in a beautiful photo, only to discover an unexpected photobomber or an awkward stranger ruining the vibe? Fear not! With Photoshop, you can wave goodbye to unwanted guests faster than you can say “cheese.”
Table of Contents
ToggleHow To Remove People In Photoshop
Photobombers and awkward strangers often disrupt the visual harmony of photos. They distract from the main subject, diverting attention away from intended focal points. Removing these distractions can significantly enhance the aesthetic quality of an image.
Artists frequently find themselves in scenarios where the perfect photo includes unintended guests. Unwanted individuals can interfere with storytelling in images, hindering emotion or message. Photographers seek to create clean and compelling compositions that resonate with viewers.
Utilizing Photoshop allows for easy removal of these elements without compromising the overall scene. Techniques like the Content-Aware Fill and Clone Stamp tool make it straightforward to edit out people. This process not only simplifies editing but also helps maintain the photo’s original integrity.
Planning ahead can mitigate unwanted surprises during photoshoots. Choosing locations with less foot traffic or scheduling shoots during quieter times can reduce the chances of encountering photobombers. Understanding common distractions helps photographers prepare and create ideal environments for capturing images.
Proficiently removing people from photos can transform visuals into impactful pieces of art. Mastery of Photoshop tools empowers individuals to redefine their storytelling capabilities. He or she holds the power to direct viewer attention precisely where it belongs, ensuring images fulfill their creative vision.
Tools for Removing People in Photoshop


Removing unwanted individuals from images in Photoshop relies on effective tools. Two of the most useful tools include Content-Aware Fill and the Clone Stamp Tool.
Content-Aware Fill
Content-Aware Fill allows users to replace unwanted elements seamlessly. By selecting the area around the person to be removed, it analyzes surrounding pixels to fill in the gap. Adjusting the settings can enhance the results, especially for complex backgrounds. Once the selection is made, choosing Edit then Fill opens the Content-Aware option. This tool is ideal for quickly eliminating photobombers while maintaining image integrity. For best outcomes, users should refine their selections beforehand.
Clone Stamp Tool
The Clone Stamp Tool gives users precise control over the area they wish to edit. Selecting this tool allows for manual duplication of pixels from one area to another. By holding the Alt key while clicking, they can define the source point. This method is especially effective for detailed areas where Content-Aware Fill may struggle. Users benefit from adjusting brush size and hardness to match the surrounding environment. Utilizing this tool requires patience but delivers accurate and realistic results.
Step-by-Step Guide to Removing People
Removing unwanted elements from photos can be straightforward with the right techniques. This section outlines essential steps for effectively eliminating distractions in images.
Choosing the Right Image
Select images that complement your objectives. Ensure the main subject is clear and the background supports the intended story. Opt for photos with less clutter; fewer distractions lead to easier edits. High-resolution images facilitate better results, as details remain intact. Images with even lighting help in precise removal of undesired elements. Subject placement also matters; positioning subjects centrally can simplify editing while maintaining balance.
Using Content-Aware Fill
Utilize the Content-Aware Fill feature for quick edits. Start by selecting the area around the unwanted person using the Lasso or Marquee tool. After highlighting the selection, navigate to the Edit menu and choose Content-Aware Fill. The software analyzes surrounding pixels and fills in the selection seamlessly. Adjust fill settings for optimal results; changing color adaptation or sampling areas improves accuracy. Once satisfied, apply the changes and refine as needed. This method excels for eliminating photobombers or minor distractions swiftly.
Fine-Tuning with Clone Stamp Tool
Employ the Clone Stamp Tool for more intricate edits. Start by selecting the Clone Stamp from the toolbar, then adjust the brush size for detailed work. Hold the Alt key and click to sample a nearby area, ensuring the selection matches the background. Carefully paint over the unwanted element; this enables manual control over the removal process. Patience is essential, as small strokes yield better results. Regularly zoom in for precision and assess the changes. Perfecting this technique provides a polished appearance while maintaining image integrity.
Tips for a Seamless Edit
Achieving a seamless edit requires attention to detail and some key techniques. Using the right methods leads to polished results that enhance the overall image.
Blending Edges
Blending edges is essential for creating a natural look after removing unwanted elements. Use the Feather option in Photoshop to soften the edges of the selection, ensuring a gradual transition between the edited area and the background. Adjusting the Feather radius helps match the surrounding pixels more effectively. Leveraging the Opacity tool can also control the visibility of the edited area, making it blend seamlessly. Zooming in provides a closer view to refine any rough edges as needed.
Matching Background Patterns
Matching background patterns enhances the visual cohesion of the image. For consistent results, closely observe the patterns present in the background before removing distractions. Utilize the Clone Stamp Tool to sample and replicate textures from nearby areas, ensuring a harmonious feel. Dragging the brush across the area where the unwanted element was removed promotes a natural integration. Experimenting with settings like Flow and Opacity fine-tunes the effect, making the background appear untouched. Focusing on consistent lighting and color will further reinforce the edit’s realism.
