 The world of DIY robotics represents a fascinating blend of technology, creativity, and hands-on skill. It’s an area where enthusiasts, educators, and hobbyists converge to build machines that extend the capabilities of human endeavor.
DIY robotics is not just about assembling parts; it’s a journey into the heart of how machines can interact with and understand the world around them.
This field offers an incredible opportunity to learn about the details of robot creation, understand the intricacies of their operations, and experience the thrill of bringing a mechanical creation to life.
Understanding the Basics of Robotics
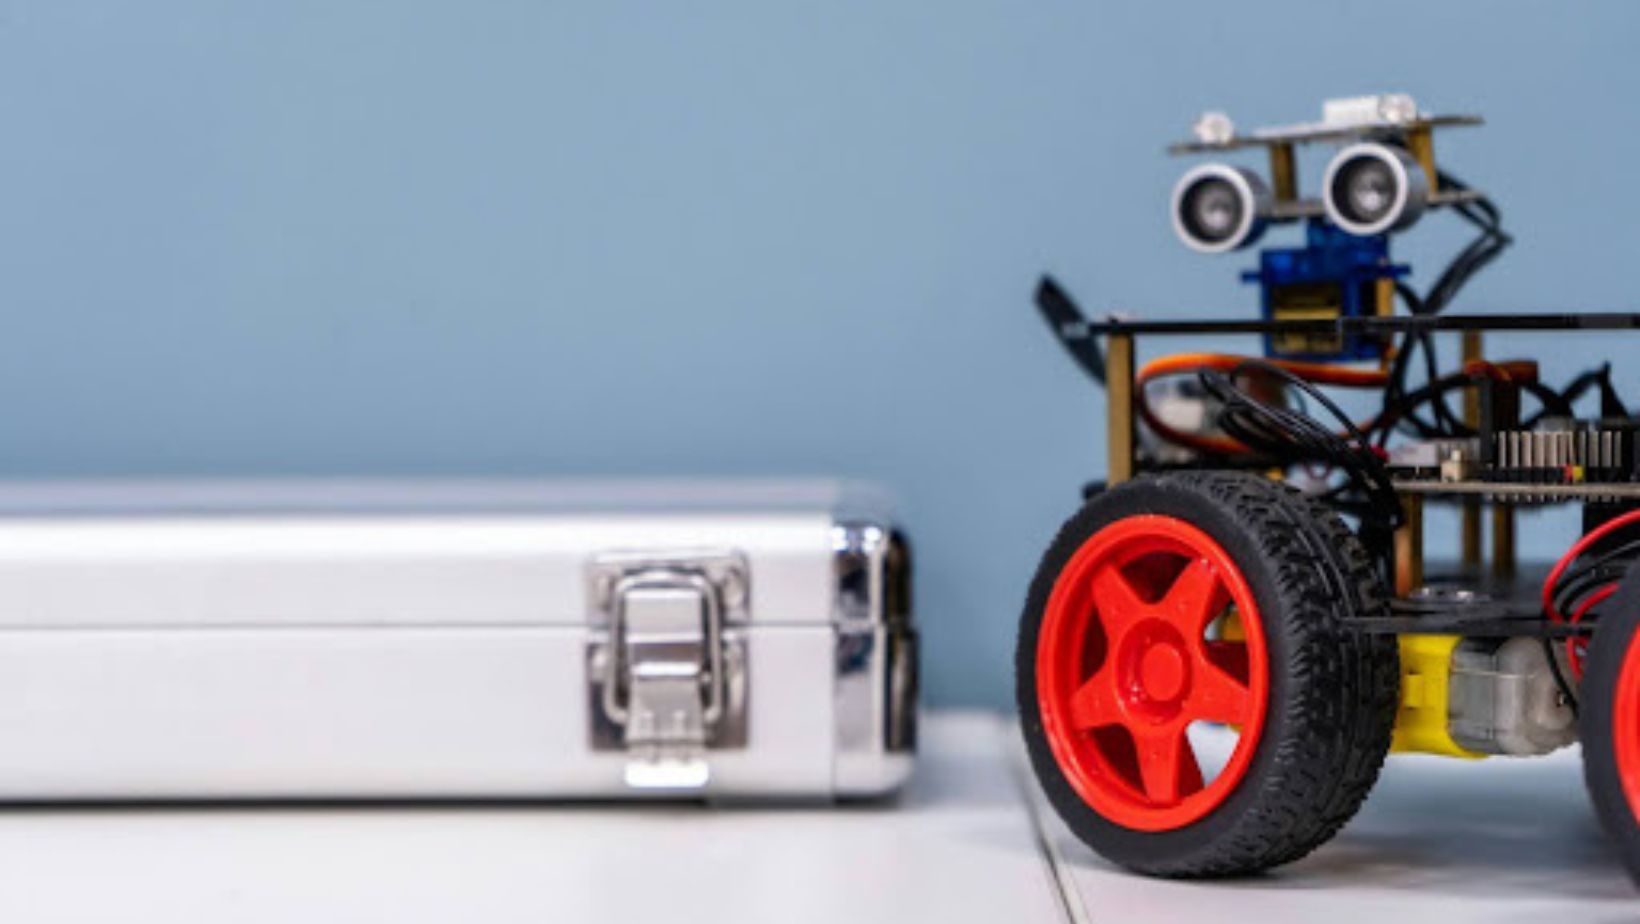
At its core, a robot is a machine capable of performing tasks autonomously or semi-autonomously.
Equipped with sensors, actuators, and often a microcontroller or computer, a robot can interact with its environment, make decisions, and execute actions based on programmed instructions or real-time data.
The capabilities of robots are vast and varied, ranging from simple, single-task machines to complex systems capable of adapting and learning.
The application of robotics spans numerous domains. In manufacturing, robots increase efficiency and precision. In healthcare, they assist in surgeries and patient care. Robots play crucial roles in exploration, whether probing the depths of the ocean or the surface of Mars.
In entertainment, robotics brings a new dimension to storytelling and interactive experiences. Each of these domains utilizes robotics technology and continuously pushes its boundaries, leading to innovative advancements.
Fun Segment: Discover Your Robot Name
To add a bit of fun to your robotics journey, why not find out what your robot name would be? Head over to the Brainfall Robot Name Generator and see what unique and amusing name you get. It’s a light-hearted way to engage with the playful side of robotics and find inspiration for your next project. Visit Brainfall’s Robot Name Generator and discover your robot alter ego!
Planning Your Robot Build
When venturing into DIY robotics, the first critical step is to define the purpose of your project. Whether it’s for educational purposes, to perform a specific task, or simply for the joy of creation, having a clear objective guides your design and component selection.
For instance, a robot designed for educational purposes might focus on simple, clear mechanisms to demonstrate basic robotics principles, while a task-oriented robot would need specific functionalities tailored to its intended job.

Key factors to consider in your planning include the size of the robot and its mobility. The size determines not just the physical space needed but also impacts the selection of components – a smaller robot might require miniaturized parts, while a larger one could accommodate more complex systems.
Mobility is critical, influencing whether the robot uses wheels, tracks, or other means of movement. This choice depends on where the robot will operate; for example, wheels might suffice for smooth surfaces, while rugged terrain could necessitate tracks.
Additionally, the materials used for mobility components must be suitable for the environment, ensuring durability and efficiency.
Key Components and Materials
Essential Components of a DIY Robot
Microcontrollers
Arduino and Raspberry Pi: The brains of your robot, microcontrollers interpret and execute your programming commands. Arduino is known for its user-friendly interface, making it ideal for beginners. Raspberry Pi offers more computing power and is suitable for more complex projects.
Sensors
Types and Functions: Sensors are the robot’s senses. They range from simple distance sensors to sophisticated vision and environmental sensors. Your choice depends on what you want your robot to perceive and interact with.
Motors and Wheels
Selection Criteria: Motors provide motion, and wheels are essential for mobility. The type of motor (like servo, stepper, or DC) and the wheel design must align with your robot’s intended movement and terrain.
Choosing the Right Batteries
- Lithium Polymer (LiPo): Ideal for high-power applications due to their high energy density.
- Alkaline Batteries: Common and easily accessible, suitable for less power-intensive tasks.
- Rechargeable AA (NiMH): Cost-effective and environmentally friendly, these are good for moderate power needs.
Basic Electronics and Programming for Robotics
Understanding Electronics
- Circuits: Learn the basics of electric circuits – the fundamental building blocks of all electronic devices.
- Breadboarding: A breadboard is a tool for constructing and testing electronic circuits without soldering.
- Soldering: Essential for creating permanent connections between components.
Programming Languages
- Python: Widely used due to its simplicity and readability, Python is excellent for beginners in robotics.
- C++: Offers more control and efficiency, making it suitable for more complex robotic projects.
Learning Resources
- Online Tutorials: Platforms like Arduino’s official website, Raspberry Pi tutorials, and YouTube channels offer extensive resources for both electronics and programming.
- Community Forums: Engage with online communities for support, tips, and project ideas.
Assembling Your Robot
Step-by-Step Assembly Guide
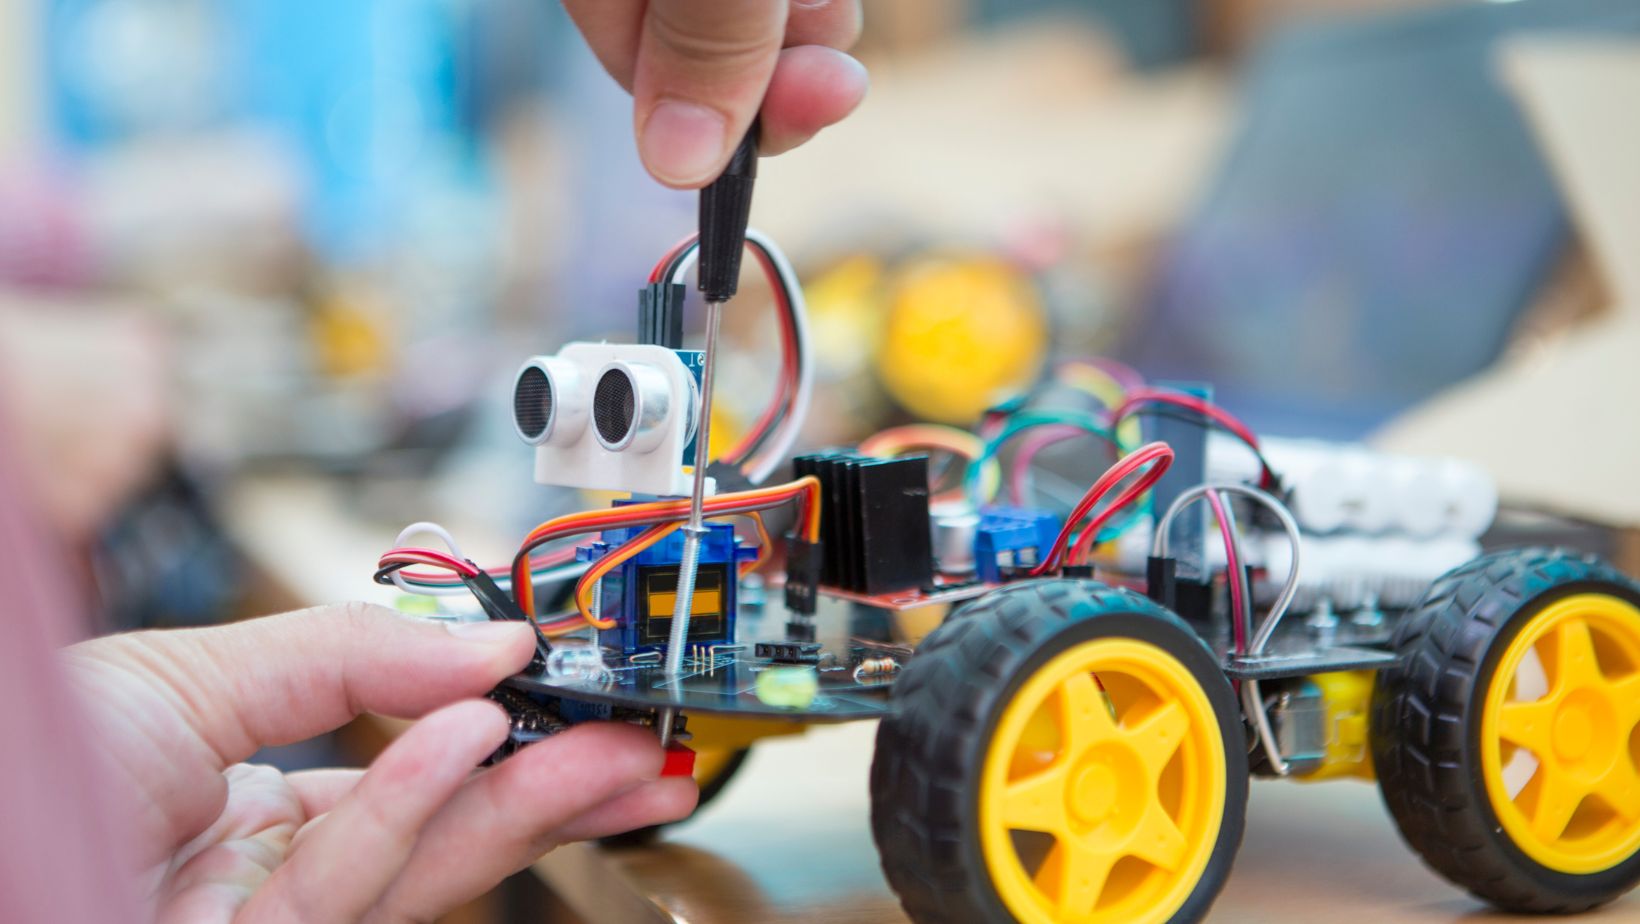
Preparing a well-organized and clean workspace is the first step in assembling your robot. All the necessary tools and components must be within reach, and you must ensure a static-free environment with good lighting.
The first step in the assembly is constructing the base of the robot, which forms its foundation. This needs to be done with precision to ensure sturdiness and stability.
Following the base construction, the next step is to install the motors onto this base. The type of motor used, whether it’s a servo, stepper, or DC motor, will depend on the specific design and requirements of the project.
After the motors, sensors are added to the robot. The type of sensors installed, ranging from simple distance sensors to more sophisticated environmental sensors, will be dictated by the robot’s intended functionalities.
Throughout this process, it’s essential to meticulously follow the assembly instructions for each component. Testing each part as it is installed is vital to ensure that everything functions correctly. This attention to detail during the assembly process helps in identifying and rectifying any issues early on.
Programming and Testing Your Robot
The programming phase of the robot begins with defining the tasks that the robot is expected to perform. The selection of a programming language, such as Python or C++, is critical and should align with both the project requirements and the microcontroller being used.
Writing the code involves breaking down the robot’s tasks into smaller, manageable functions. Utilizing existing libraries for common functionalities can significantly streamline this process.
Once the programming is done, the robot undergoes initial testing where the written code is run, and the robot’s behavior is observed. This phase is crucial for identifying and debugging any issues that might arise. Debugging requires patience and a methodical approach to identify and resolve problems.
Testing and troubleshooting in robotics are iterative processes, demanding continuous adjustments and repeated testing until the desired outcomes are achieved.
Getting Creative with Your Robot
This phase is where personalization and creativity come into play. Designing your robot doesn’t stop at functionality; it extends to aesthetics and unique features, making your robot distinct.
As confidence in robotics builds, considering the integration of more advanced features like artificial intelligence, machine learning, or complex sensors can be an exciting way to enhance the robot’s capabilities.
Engaging with online robotics communities is an excellent way for enthusiasts to share ideas, gain inspiration, and learn from the experiences of others.
For those looking to expand their knowledge and skill set, delving into more complex projects can be both challenging and rewarding.
This creative exploration in DIY robotics is not just about building a robot but about crafting a unique creation that embodies individual innovation and technical prowess.
Safety and Ethical Considerations
When embarking on the journey of building a DIY robot, it’s imperative to prioritize safety measures.
This involves being cautious while handling tools like soldering irons and circuit components, ensuring that all electrical connections are secure to prevent short circuits, and wearing protective gear as necessary.
During testing, it’s crucial to monitor the robot’s actions to avoid accidental injuries or damages, especially when high-powered motors or batteries are involved.
Ethical considerations in robotics, though briefly touched upon here, hold immense importance. As creators, it’s vital to consider the implications of your robot’s functionalities, especially in terms of privacy, security, and the broader societal impact. The realm of robotics challenges us to think about the responsible use of technology and its long-term effects on our world.
Wrapping Up
Building a DIY robot is an immensely rewarding experience, blending technical skills with creative problem-solving.
It’s a journey that not only leads to the creation of a functional machine but also to the development of invaluable skills and knowledge in electronics, programming, and mechanical design.
This endeavor is more than just a hobby; it’s an opportunity to contribute to the evolving field of robotics, no matter how small the project may seem.


