In the vibrant world of graphic design, adding text in Photoshop is like seasoning a gourmet dish. It can elevate your creations from bland to grand, turning a simple image into a captivating masterpiece. Whether you’re crafting an eye-catching poster or a social media graphic that stops thumbs in their tracks, knowing how to wield the text tool is essential.
But fear not! This isn’t a tedious tutorial filled with jargon and technical mumbo-jumbo. Instead, it’s a fun and engaging journey through the ins and outs of Photoshop’s text features. Get ready to unleash your inner wordsmith and discover how to transform ordinary text into spectacular typography that dazzles. With a few simple steps, your design skills will soar, and your projects will shine like a diamond in a sea of mediocrity.
How To Add Text In Photoshop
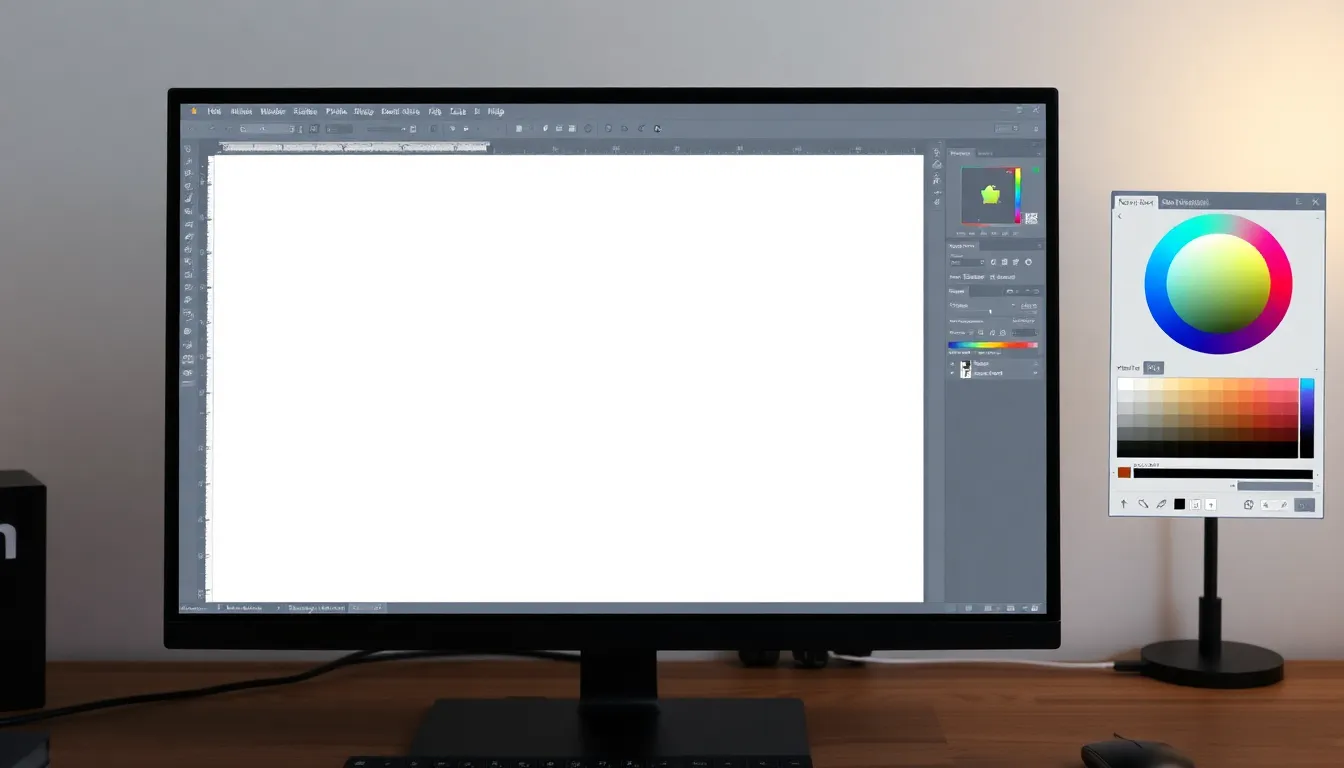
Adding text in Photoshop is straightforward and essential for effective graphic design. First, select the Type Tool from the toolbar. You’ll find the Type Tool icon resembling a “T.” Clicking anywhere on the canvas opens a text box, allowing text entry.
Next, type the desired text. Adjust font style, size, and color from the options bar at the top. Experimenting with different fonts and colors can enhance visual appeal. For beginners, using standard fonts like Arial or Times New Roman provides a solid foundation.
Utilizing the Character panel further customizes text. Access it through Window > Character. This panel offers options for adjusting kerning, leading, and more. Individuals often find that fine-tuning these settings greatly improves text appearance.
To manipulate text positioning, use the Move Tool. Students can click and drag the text to any area on the canvas. Aligning text can enhance overall design balance. Adobe Photoshop allows precise adjustments with the arrow keys for fine-tuning.
Converting text to a shape offers more creative control. Right-click the text layer in the Layers panel, then select “Convert to Shape.” This transformation enables advanced editing, such as reshaping individual letters.
When finished, save your project by choosing File > Save As. Formats like PSD or JPEG are common, depending on the final usage. Exporting as a JPEG allows for easy sharing on social media platforms or websites.
Adding text in Photoshop can significantly elevate a design. Creative exploration of fonts and layouts enriches the overall visual narrative. Following these steps leads to impressive typography that captures audience attention in any project.
Setting Up Your Document
Setting up your document correctly in Photoshop ensures a smooth design process. Proper dimensions and background color create a solid foundation for adding text.
Choosing the Right Dimensions
Selecting the right dimensions is essential for any project. Designers often choose presets based on the intended use, such as A4 for print or 1080×1080 pixels for social media. Custom dimensions can be set by navigating to File, then New. Enter the desired width and height, ensuring the resolution meets project requirements. For print, 300 DPI is standard, while 72 DPI suffices for digital use. Adjusting these settings beforehand prevents resizing issues later.
Setting the Background Color
Choosing a background color adds depth to the design. Start by selecting the Background layer in the Layers panel. You can use the Paint Bucket Tool for solid colors or create a gradient with the Gradient Tool. Many designers opt for neutral colors to keep the focus on text. Preview the color choices to see how they interact with the text and enhance readability. Making these adjustments early on helps to foster a seamless design experience.
Using the Text Tool
Adding text in Photoshop starts with using the Text Tool, which is essential for creating captivating designs. This tool simplifies the process of integrating text into artwork.
Selecting the Text Tool
To begin, navigate to the toolbar and select the Type Tool, represented by a “T” icon. He clicks the icon to activate it, allowing for text creation. The cursor changes to a “+” symbol, indicating readiness to add text. Next, she clicks anywhere on the canvas to create a text box. This step prepares the space for entering text. If mistakes occur, pressing the Escape key cancels the action. Remember, the Text Tool is the foundation for all typography in Photoshop.
Customizing Text Settings
Customizing text settings drastically enhances visual appeal. First, access the Character panel by navigating to Window, then Character. This panel provides options like font style, size, and color. They can experiment with various fonts to find the perfect match for their design. Adjusting font size ensures readability while aligning with the overall layout. Color choices significantly impact mood and can complement the design’s theme. Furthermore, tweaks to kerning and leading help achieve ideal spacing between characters and lines. Such refinements elevate the typography, creating a polished look.
Adding Text to Your Design
Adding text to a design in Photoshop enhances both its appeal and functionality. Follow the steps below to effectively include and adjust text elements in your project.
Entering Text
Select the Type Tool from the toolbar. Click anywhere on the canvas to create a text box. Start typing to add your desired text. Choose standard fonts like Arial or Times New Roman for a clean look, especially for beginners. Use the Character panel to customize font attributes such as size, color, and style. Ensuring clear and readable text elevates the overall design quality.
Adjusting Text Position
Positioning text correctly plays a crucial role in design balance. Activate the Move Tool to relocate your text box as needed. Grab and drag the text to your desired spot on the canvas. Use alignment tools in the top menu to center, left-align, or right-align text. Consider spacing and proximity to other elements, since proper placement enhances visual coherence in the overall layout.
Formatting Your Text
Formatting text effectively in Photoshop enhances the overall design quality. Users can manipulate font styles and effects to convey specific themes or emotions.
Changing Font Style
Changing the font style is straightforward. Highlight the text in the text box and navigate to the Character panel. Various font families are available, catering to diverse aesthetic needs. Popular options include Arial, Times New Roman, and more sophisticated fonts like Helvetica or Georgia. Users can experiment with font weights, such as bold or italic, to create emphasis. Adjusting font size enables clearer hierarchy in the design, drawing attention to important information. Utilize the dropdown menu in the Character panel to explore and select from numerous style options. Previewing changes in real-time ensures that users achieve the desired effect.
Applying Text Effects
Applying text effects adds depth and interest to the design. Layers of effects like shadows, glows, or bevels can be accessed by right-clicking on the text layer in the Layers panel. Stroke options allow users to create outlines around the text, enhancing visibility against backgrounds. Experimentation with blending modes offers unique visuals that complement overall design elements. Adjust opacity levels to create subtle or pronounced effects based on the project’s style. Layer styles can also be modified for cumulative effects, bringing texture to typography. Regularly reviewing changes with the Preview toggle helps maintain focus on design integrity while experimenting.
Saving Your Project
To save a project in Photoshop, select “File” from the top menu. Choose “Save As” to access various file format options. The PSD format preserves layers, making it the preferred choice for ongoing projects. Additionally, using JPEG or PNG formats helps with sharing images online or for print.
While saving, consider naming the project descriptively. Clear names help in identifying files quickly. Selecting a suitable location on your computer also streamlines workflow, making future access easier.
For multiple versions of a design, incrementing the file name with numbers or dates aids in keeping track of changes. For instance, saving as “Project_V1” or “Project_2023_10_02” clarifies the editing timeline.
When ready to export your project for final use, select “File” followed by “Export.” This option presents formats optimized for web or print. Choosing the right resolution here is vital, especially if the design targets print media, where higher DPI is crucial for clarity.
After saving, always check that the file opens correctly. Opening various formats ensures the project retains quality across platforms.
Backing up projects on cloud storage or external drives provides additional security against data loss. Regular backups not only prevent file corruption issues but also create a safeguard against accidental deletions.
Following these steps allows designers to maintain organization and accessibility while enhancing overall productivity. Adopting a systematic saving routine ensures projects remain easy to navigate and manage over time.
Conclusion
Adding text in Photoshop can significantly elevate any design project. By mastering the Type Tool and exploring various text features, designers can create visually appealing graphics that capture attention. Customizing font styles, sizes, and colors allows for unique expression while maintaining readability.
Positioning text effectively enhances overall design balance, making projects more professional. Experimenting with text effects adds depth and interest, ensuring the final product stands out.
Finally, proper document setup and saving practices streamline workflow and protect creative efforts. With these skills, anyone can transform their typography and boost their design capabilities, making each project shine.