In the world of graphic design, turning a simple image into a stunning vector can feel like magic. Enter Adobe Illustrator’s Image Trace feature, the fairy godmother every designer dreams of. With just a few clicks, it transforms pixelated images into scalable masterpieces, making it seem like you’ve got a magic wand in your hand.
Whether you’re a seasoned pro or just starting out, mastering Image Trace can save hours of tedious work and elevate your designs to new heights. No more squinting at low-res images or wrestling with complex software—this tool is here to simplify your life. Buckle up as we dive into the enchanting realm of Image Trace, where creativity meets efficiency and every image can become a work of art.
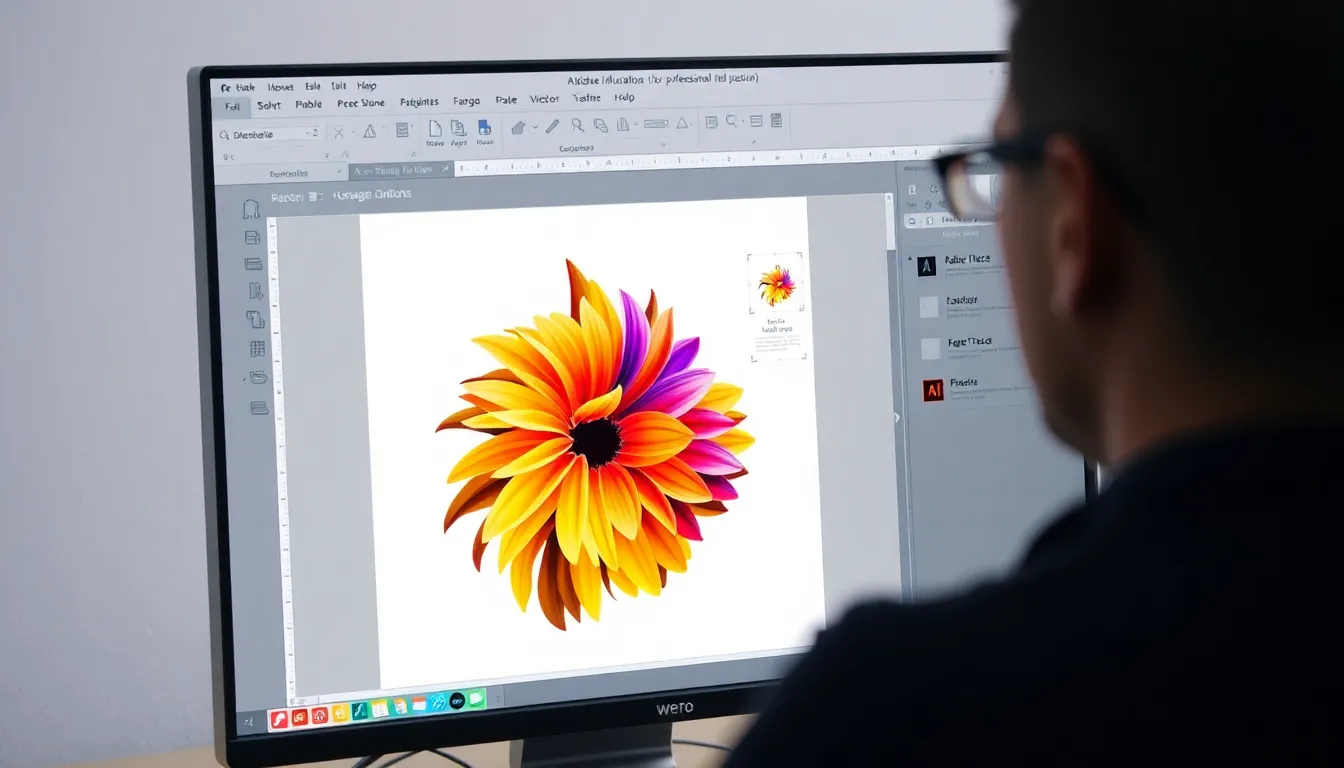
Image Trace Adobe Illustrator
Image Trace simplifies the process of converting raster images into vector graphics. Designers appreciate its ability to preserve image quality while allowing scalability.
What Is Image Trace?
Image Trace is a powerful feature in Adobe Illustrator that converts bitmap images into editable vector graphics. This functionality enables users to maintain high-quality results while modifying designs. It employs sophisticated algorithms to detect shapes and colors, generating a vector representation that retains the original image’s essence. Users can choose different preset options or customize settings to achieve desired outcomes. Whether it’s logos, illustrations, or complex textures, Image Trace provides flexibility in transforming diverse image types.
Benefits of Using Image Trace
Utilizing Image Trace in Adobe Illustrator enhances workflow efficiency significantly. It saves time, allowing designers to focus on creativity rather than manual tracing. Preserving the original image quality, the tool ensures vector graphics maintain sharpness at any size. Customization options cater to various design needs, enabling optimization for specific projects. Moreover, the ease of use makes it accessible for beginners while providing advanced features for professionals. Image Trace ultimately bridges the gap between raster and vector formats, streamlining the graphic design process.
How to Access Image Trace

Accessing the Image Trace feature in Adobe Illustrator is straightforward, allowing users to start converting raster images smoothly.
Through the Menu Bar
To access Image Trace, navigate to the top menu bar and select the “Window” option. From the dropdown list, click on “Image Trace.” This action opens a panel where various tracing options appear. Users can choose from presets or adjust the settings for specific needs. By selecting an image first, this menu gives users immediate access to enhance their workflow. After making selections, applying the trace results happens with just a click.
Using the Control Panel
Accessing Image Trace via the control panel offers a faster approach for users. When an image is selected, the control panel automatically displays trace options. Users can find the Image Trace button prominently. This button allows for one-click tracing using the last settings saved or defaults. Adjusting settings directly in the control panel makes fine-tuning easy. Users can quickly modify options, including Complexity or Colors, ensuring results match their design intentions.
Step-by-Step Guide to Image Tracing
Image tracing in Adobe Illustrator involves several key steps to achieve the best results. Follow this guide to master the tool efficiently.
Preparing Your Image
Preparing an image sets the foundation for effective tracing. Begin by selecting a high-resolution image to maintain quality during conversion. Clean up the image using editing tools, removing any unwanted elements or background noise. Ensure the image has clear shapes and distinct colors, as this enhances tracing accuracy. Import the image into Adobe Illustrator and position it appropriately on the canvas, making it ready for the tracing process.
Customizing Image Trace Settings
Customizing settings enables users to refine the output according to their needs. Access the Image Trace panel by selecting the image and clicking on the tracing options. Choose from various presets, such as High Fidelity Photo or Black and White Logo, depending on the desired effect. Adjust sliders for complexity, colors, and paths to personalize the trace. Preview changes in real-time to ensure the settings align with the design intentions before finalizing the process.
Editing Traced Images
Editing a traced image enhances its fidelity and visual appeal. Once tracing is complete, convert the image into vector paths by clicking Expand. Use the Direct Selection Tool to manipulate individual anchor points or paths, fine-tuning shapes as necessary. Delete or add paths to achieve the perfect look. Further adjustments, such as changing stroke colors or filling shapes, can elevate the design’s overall quality. Save the edited version frequently to avoid losing changes, ensuring a smooth workflow.
Tips for Effective Image Tracing
Effective image tracing relies on several key strategies. Understanding these tips ensures optimal results when using Adobe Illustrator’s Image Trace feature.
Choosing the Right Images
High-resolution images play a crucial role in achieving satisfactory trace results. Clear shapes and distinct colors enhance the accuracy of the trace process. Professionals suggest starting with images that showcase well-defined edges and minimal noise. Complex backgrounds, on the other hand, can hinder successful tracing. Selecting images with straightforward subjects, like logos or illustrations, eases the tracing task. Avoid using overly detailed photographs since they may result in cluttered vector outputs. A well-chosen starting image lays the groundwork for a more efficient and effective tracing experience.
Fine-Tuning Trace Results
Fine-tuning trace results is essential for achieving the desired output quality. After selecting the appropriate image, users can adjust various settings in the Image Trace panel. Modifying options like Paths, Corners, and Noise impacts the final vector graphics significantly. For example, increasing Paths creates smoother curves, while reducing Noise helps refine the image by eliminating unnecessary detail. Users should experiment with preset options to find the right fit for their projects. Real-time previews provide immediate feedback, allowing for quick adjustments. Investing time in fine-tuning the trace enhances the clarity and precision of the resulting vector graphics, leading to professional-quality designs.
Conclusion
Mastering Adobe Illustrator’s Image Trace feature opens up a world of possibilities for designers. Whether creating logos or intricate illustrations this tool enhances both efficiency and creativity. By transforming raster images into scalable vector graphics it allows for precision and flexibility in design.
With the right techniques and a focus on high-quality images users can achieve stunning results. Experimenting with various presets and fine-tuning settings ensures that each project aligns with their unique vision. The ability to edit traced images further empowers designers to refine their work seamlessly.
Embracing Image Trace not only simplifies the design process but also bridges the gap between different formats. It’s a valuable skill that can elevate any design project and inspire creativity in graphic design.